Lime Washed Dining Table And Chairs
There is something about when an paint effect creates stunning impact. One of the appealing methods for me is creating whitewashed (or limewashed) wood.
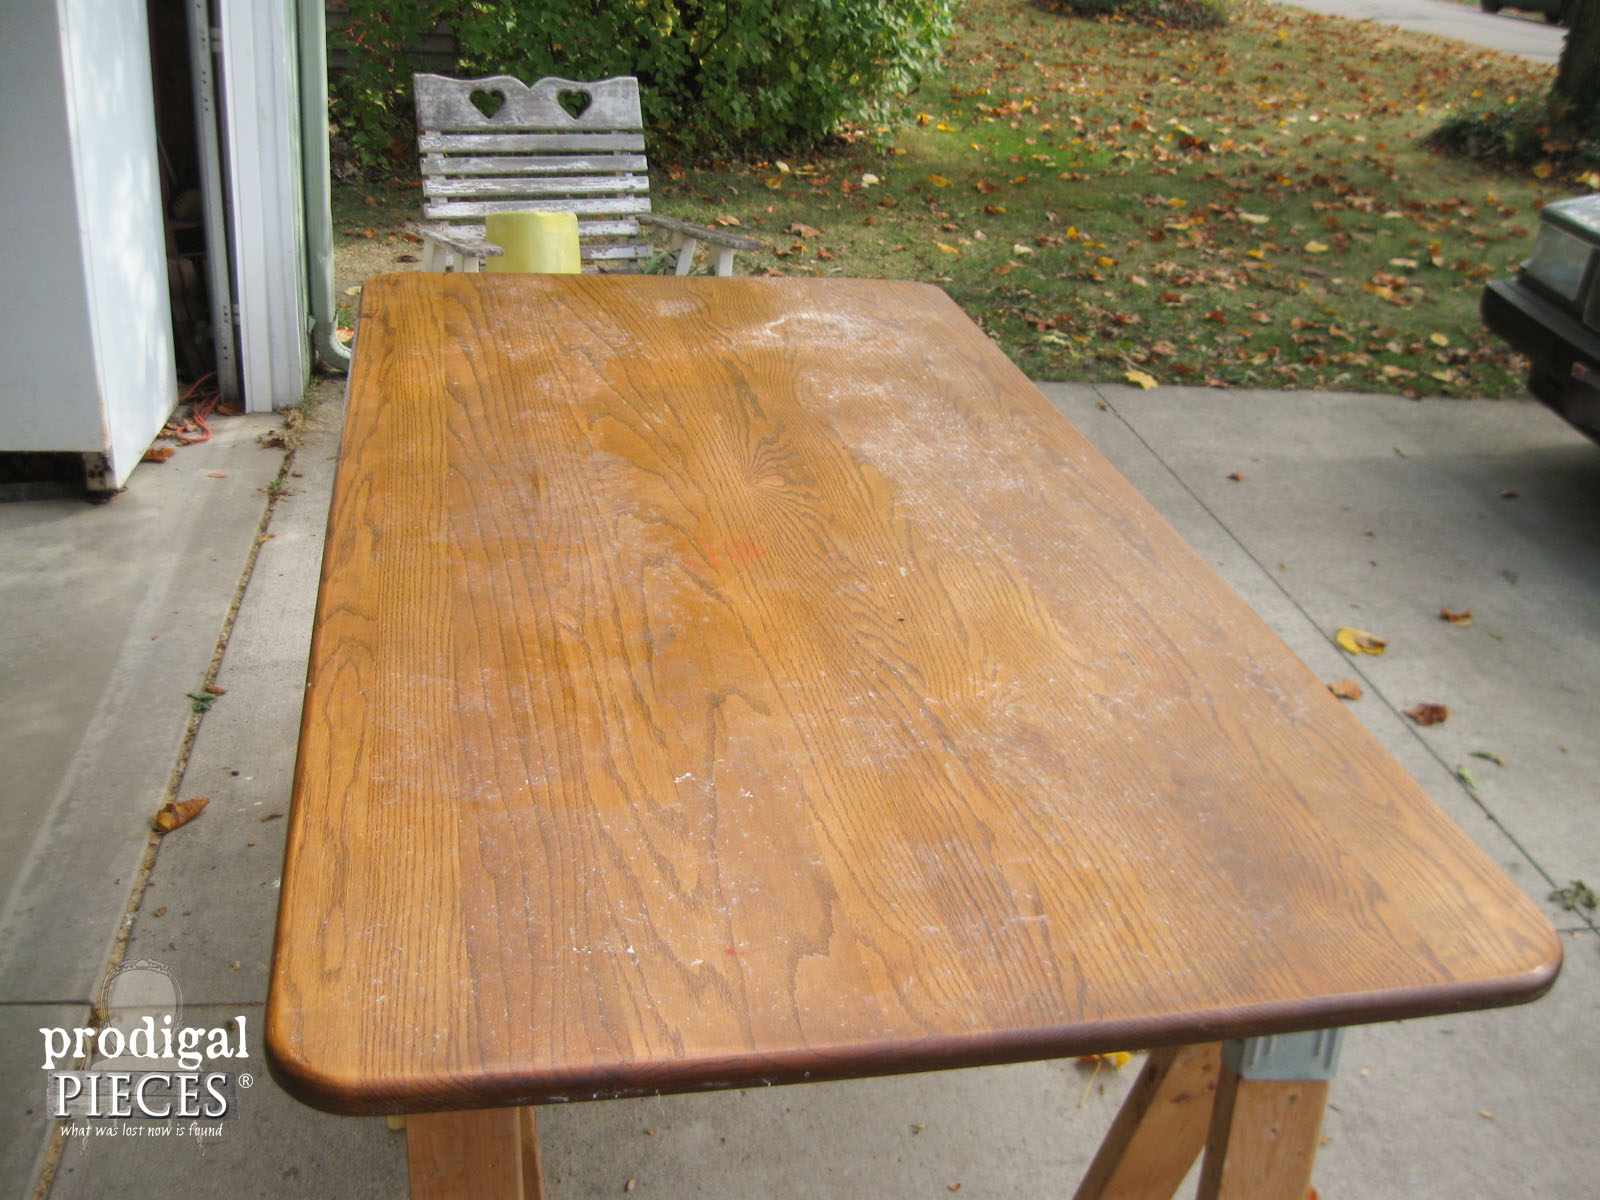
Over the years, I have whitewashed many pieces of furniture and it is still one of my favorite ways to age a piece and create dimension. The subject for my project today is my very own farmhouse dining table. We were gifted our table from my husband's employer Osborne Wood Products, when we both graduated college. To say I was excited was an understatement. I got to choose the wood, the legs, and the finish…eep! Rough part is that 15 years later , our table has made it through 6 children, but is in need of a makeover. (did I just say 15 YEARS ago I graduated college? wow.) I was so eager to get started that I forgot to take a true "before" picture, but here it is…
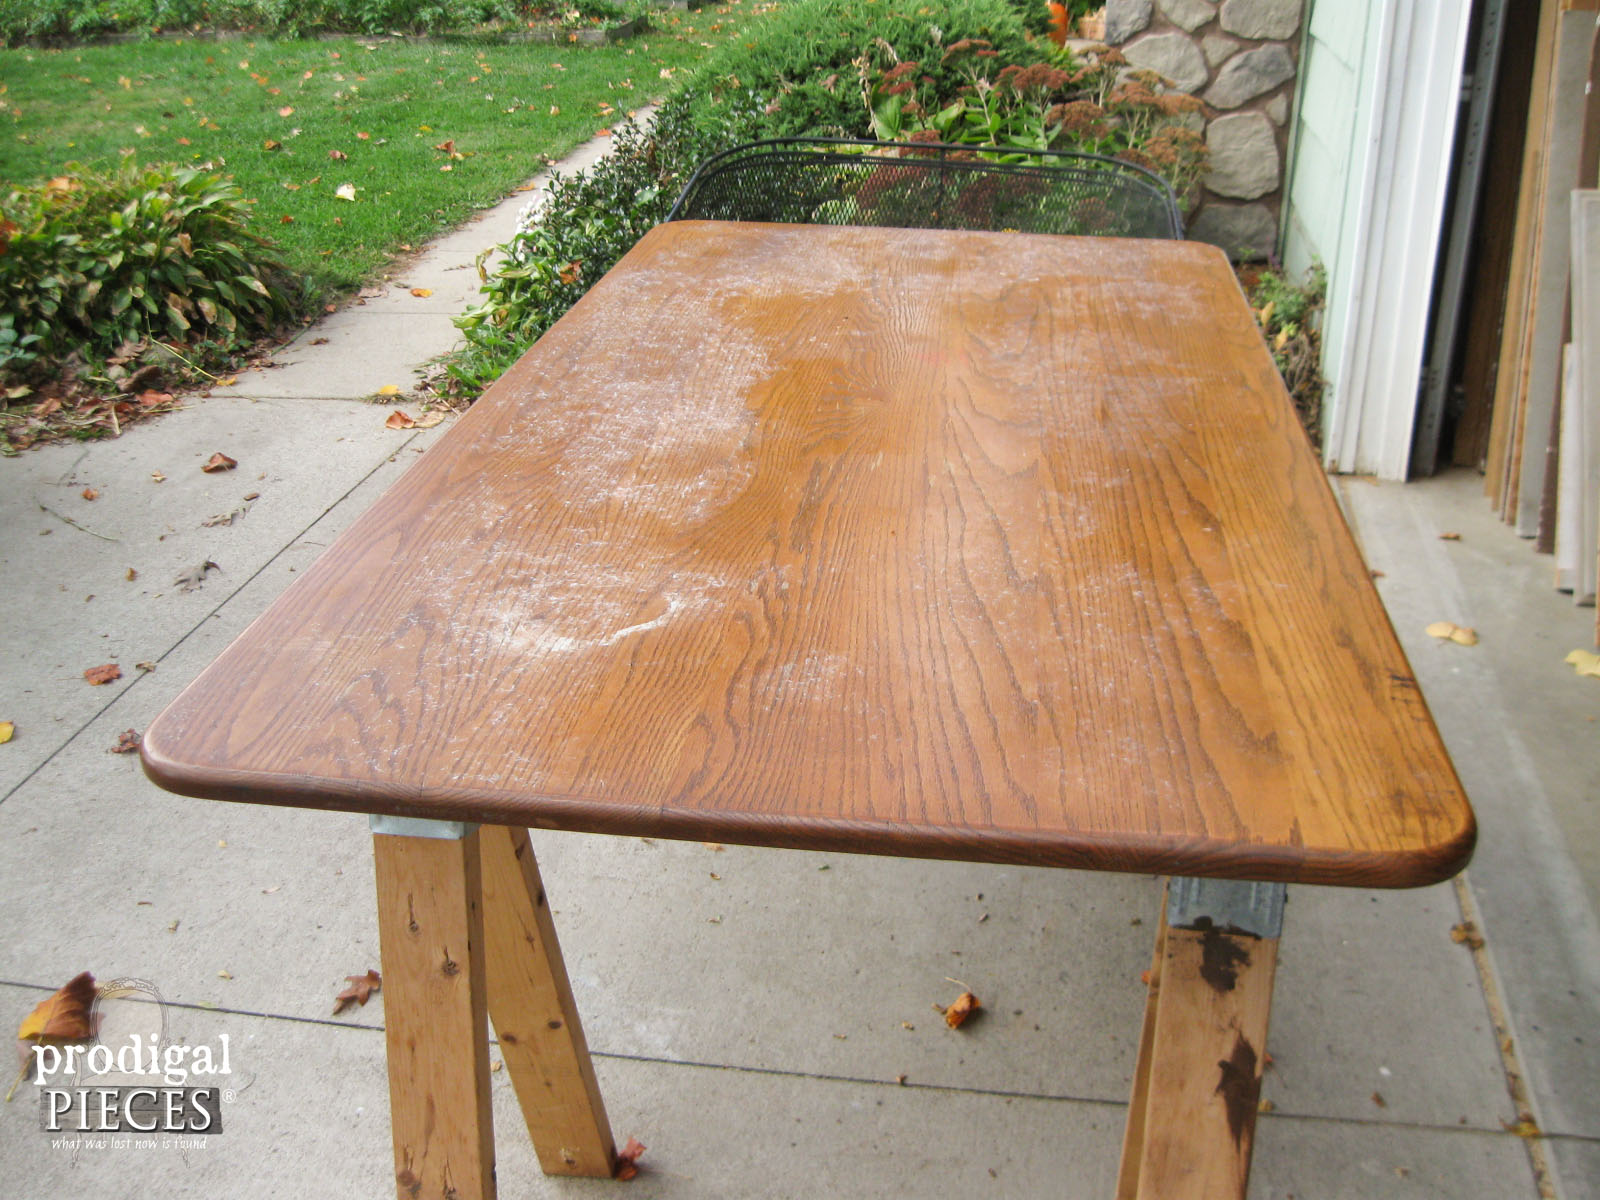
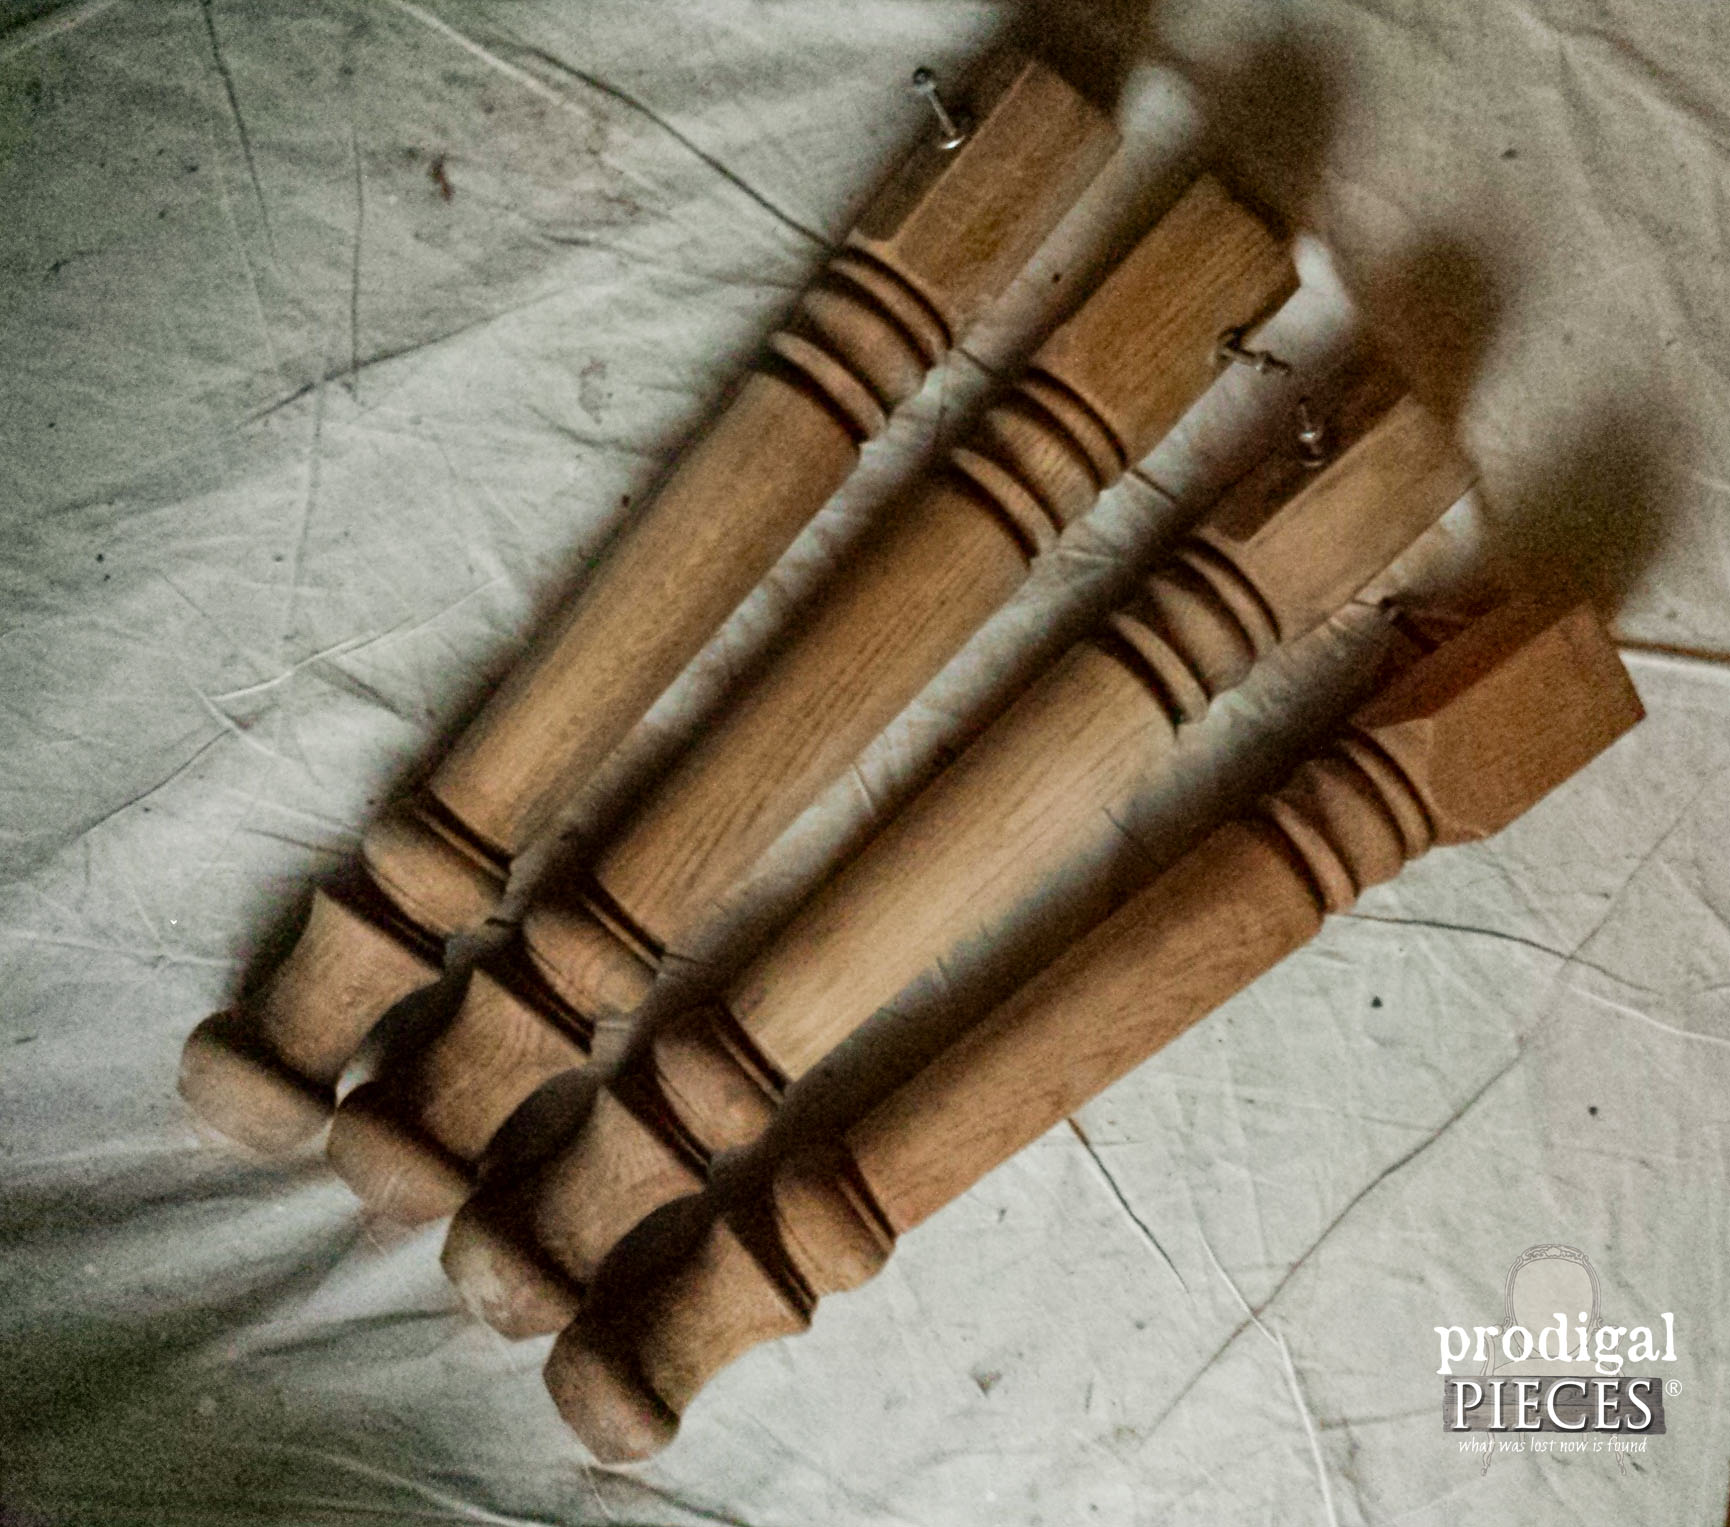
The skirt and legs removed and ready for a facelift. It has been loved on, wouldn't you say?
* this post is sponsored by HomeRight (see full disclosure)
DIY TIME
First, I sand the skirt and attempt to strip the legs myself using Citri-Strip (awesome chemical-free stuff).
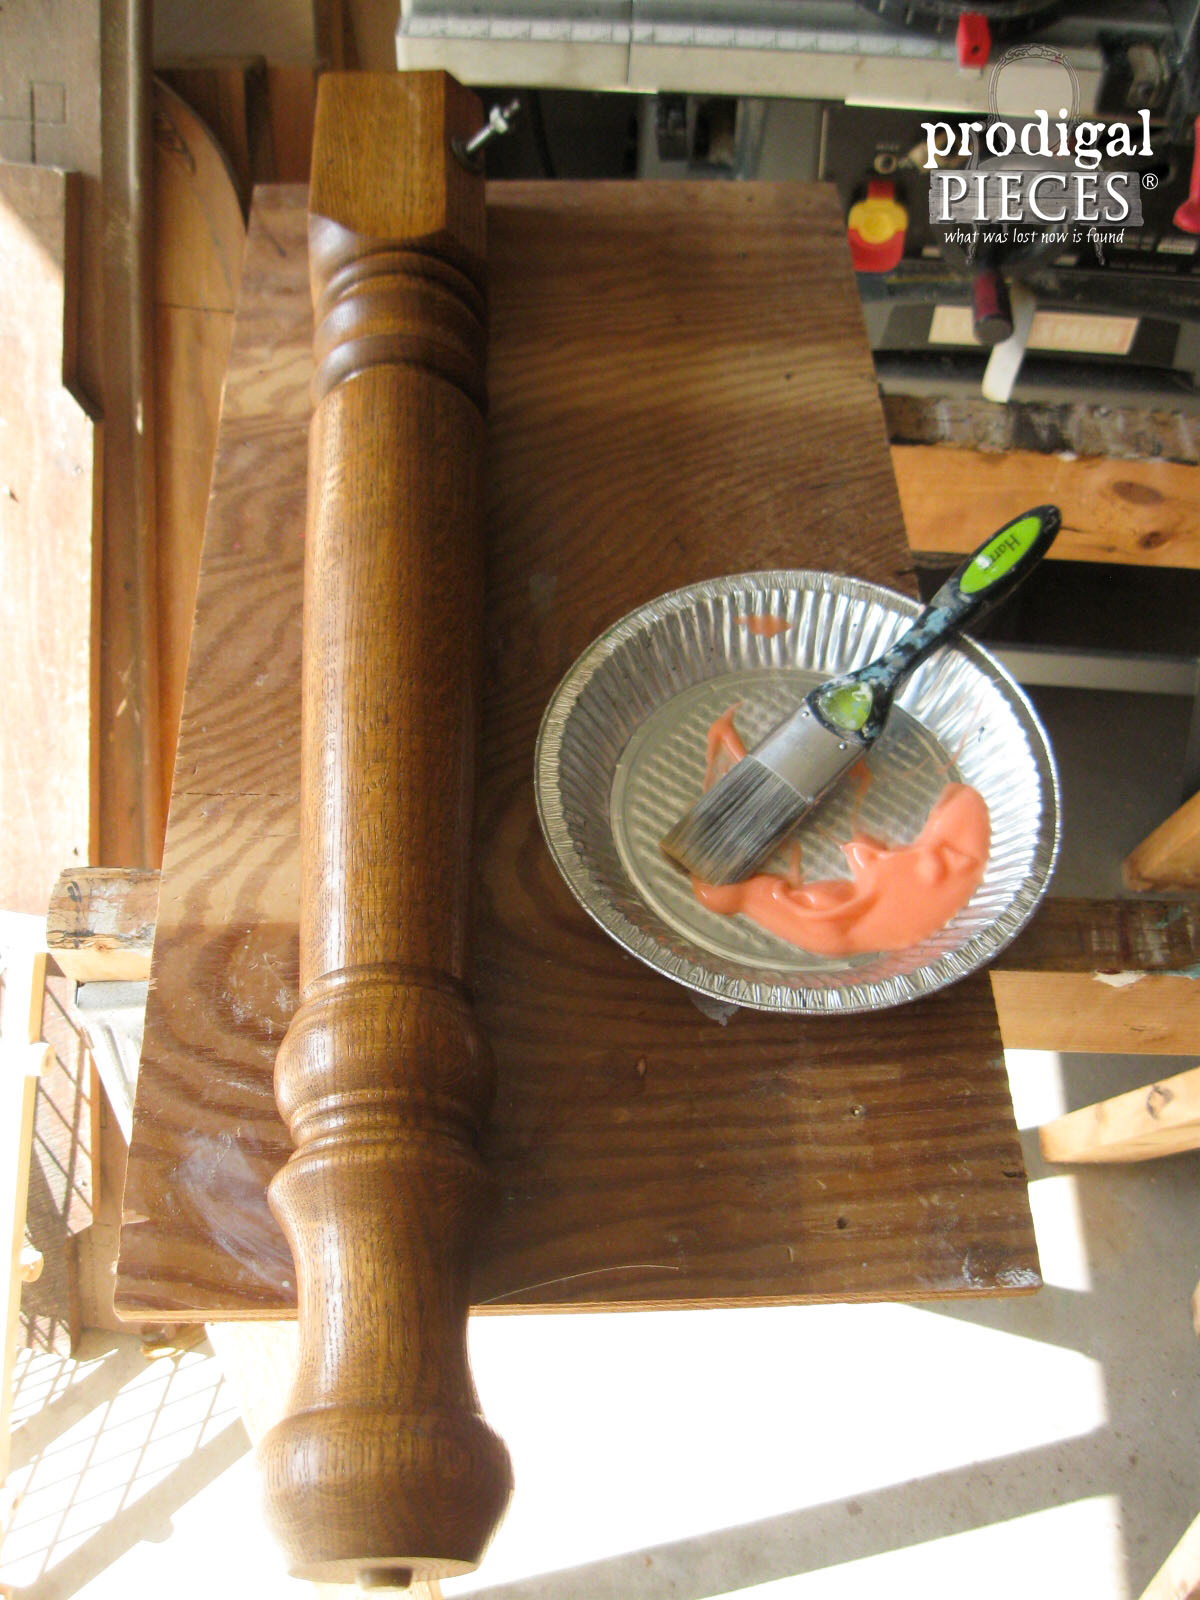
While I got them mostly stripped, I was running out of good weather time and I had custom orders piling up from my shop. It's funny, I never get to work on my own stuff. So, I take them to a local artisan and pay $50 to get them stripped for me. Whew! What a lifesaver.
At this point I had to take a hiatus to work on those custom orders for a few weeks and wanted to have my table back before Christmas. Well, until I can get the table finished, we live on a concave resin folding table for months. Imagine all 8 of us eating and homeschooling with everything sliding to the center. I can tell you that I can totally appreciate my own table even more.
We had unseasonably warm weather for our area, and though I would have worked on the table, we all got a nasty virus right before Christmas. Sigh…life happens, right?
SANDING
It was until just after Christmas that work could commence. My husband used a belt sander to remove the finish and take off any damage.
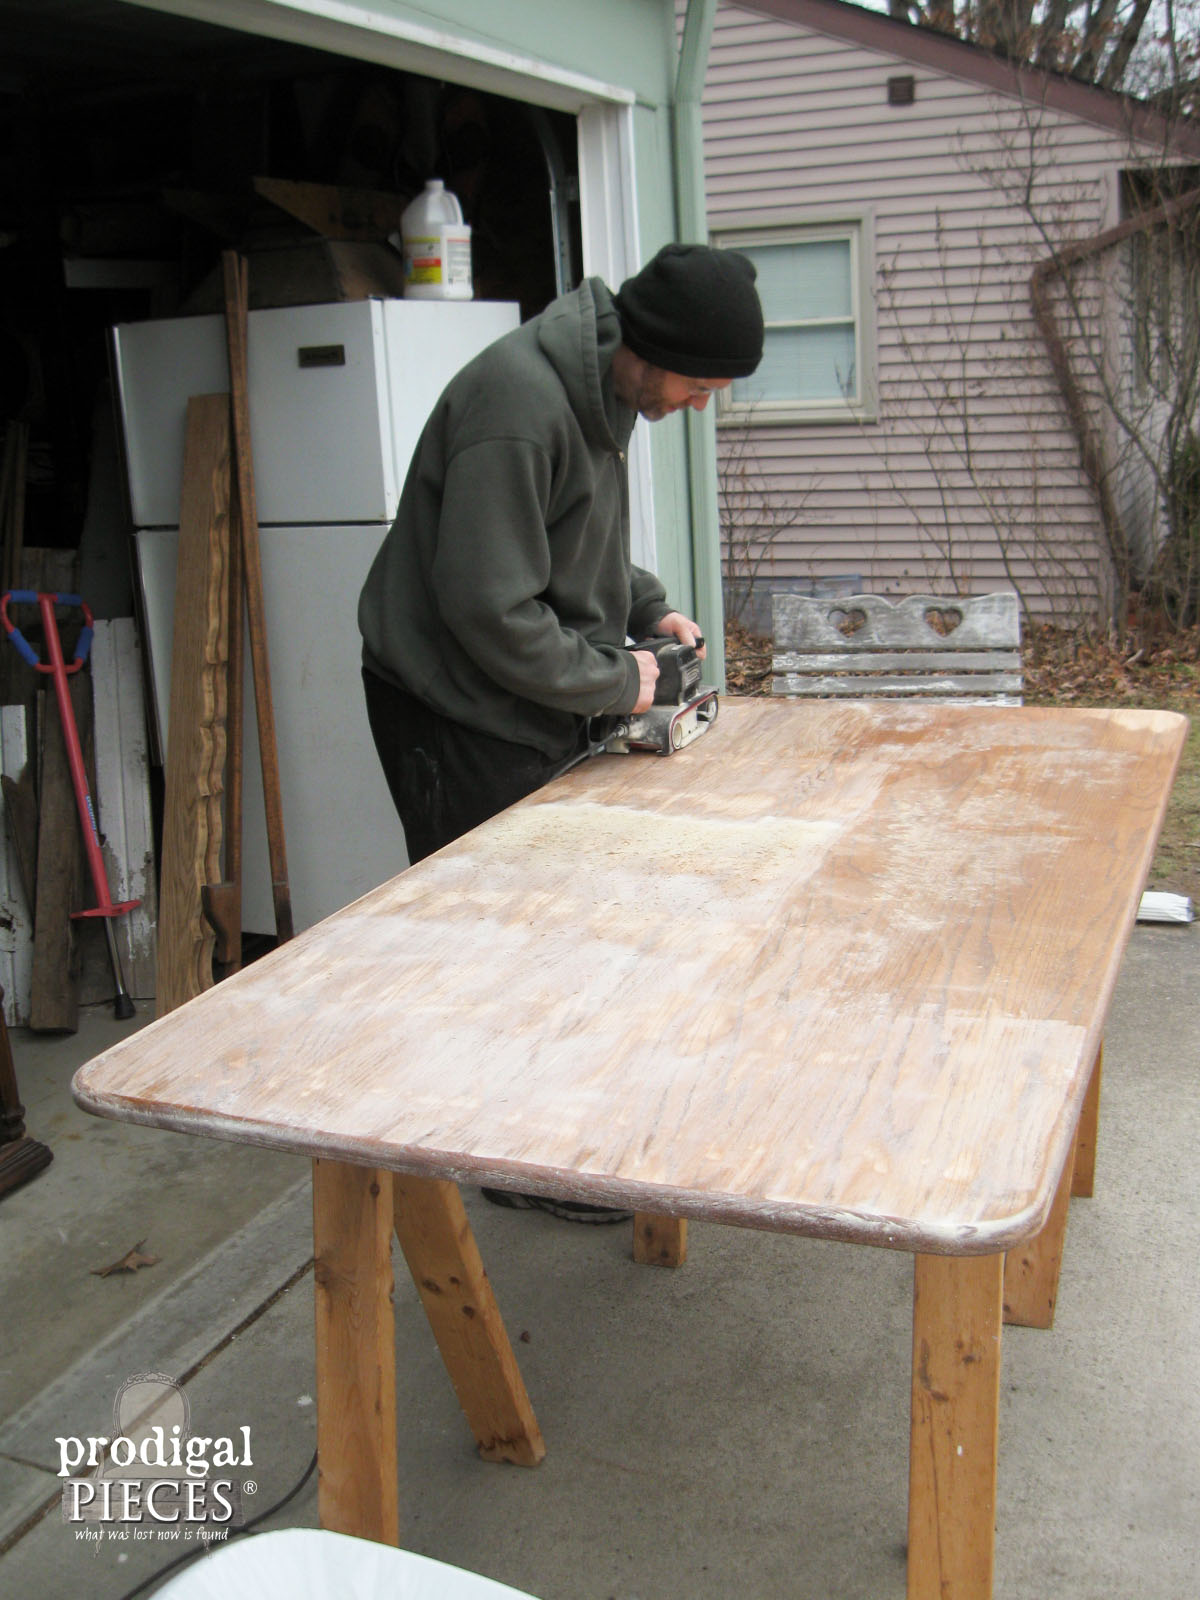
I have the legs back and everything is ready to go on the whitewashed look I'm after.
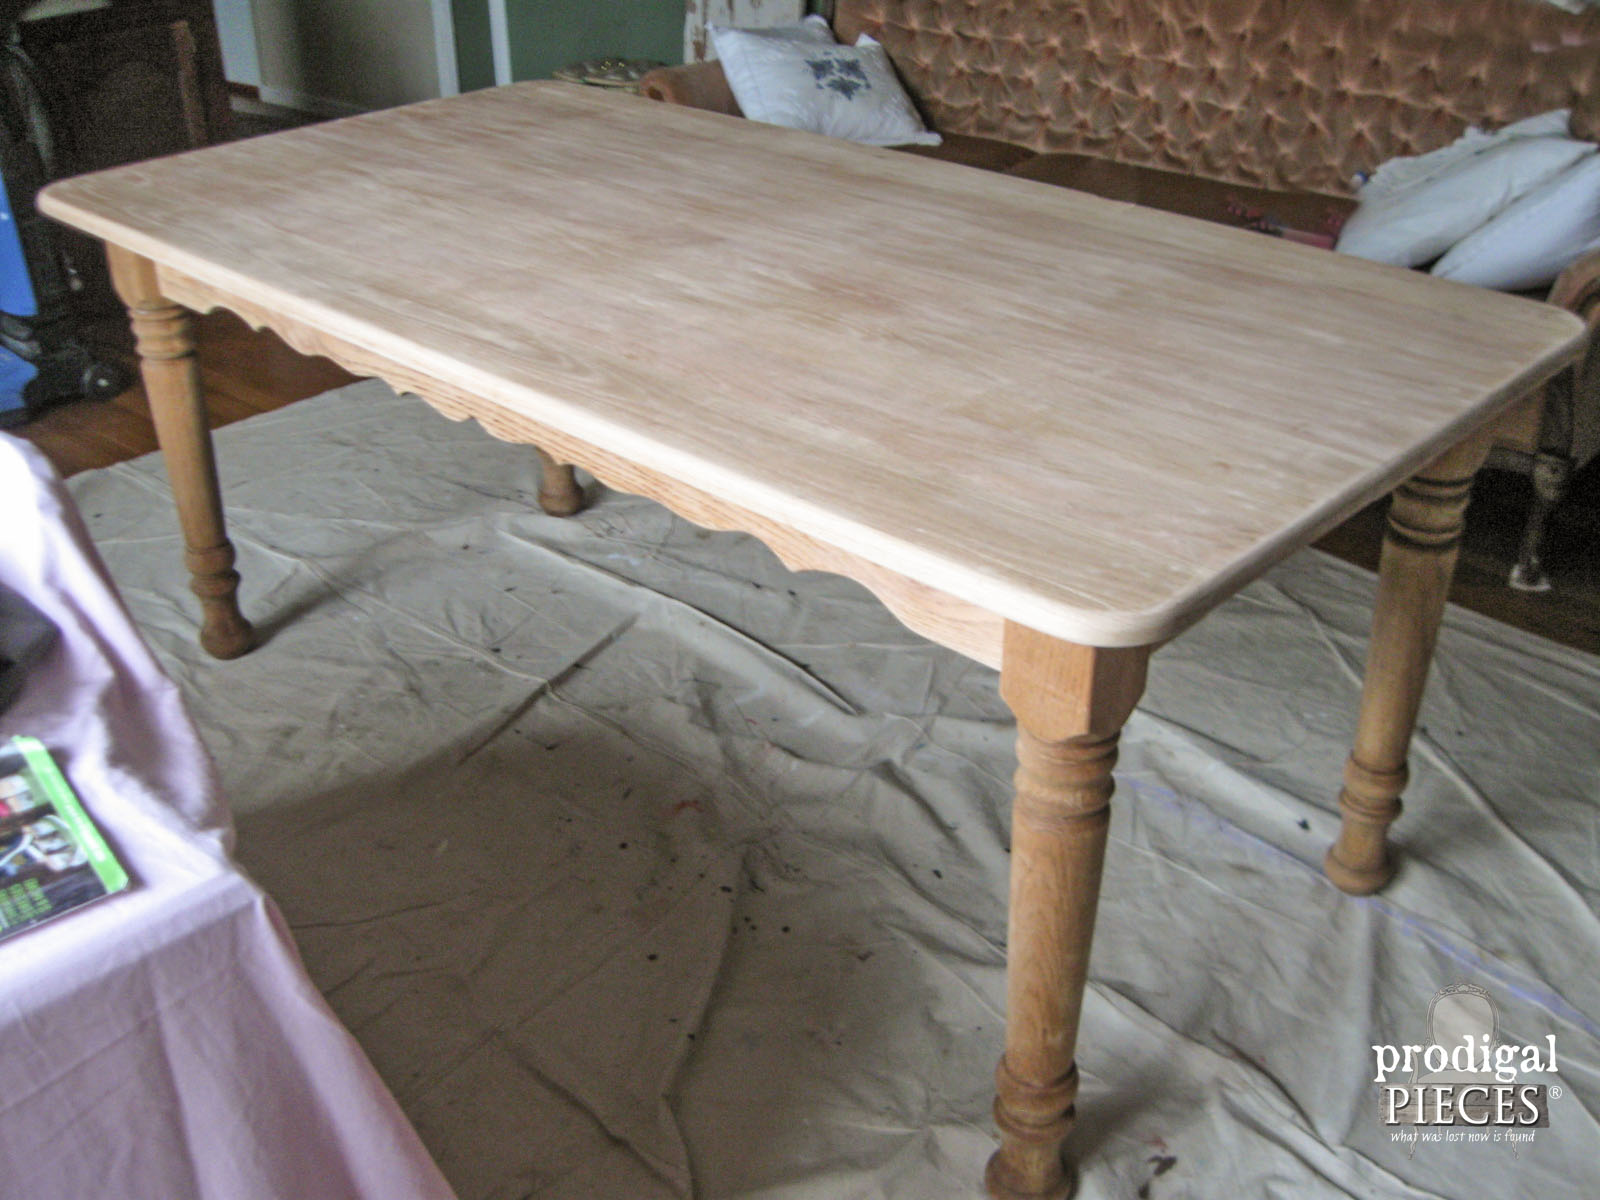
As much as I would have liked to leave the wood in the raw, I couldn't do that and preserve it at the same time. I could have just used a topcoat to seal, but since my table is red oak, it would have brought out the tannins and made it an orange shade, which is not what I was after.
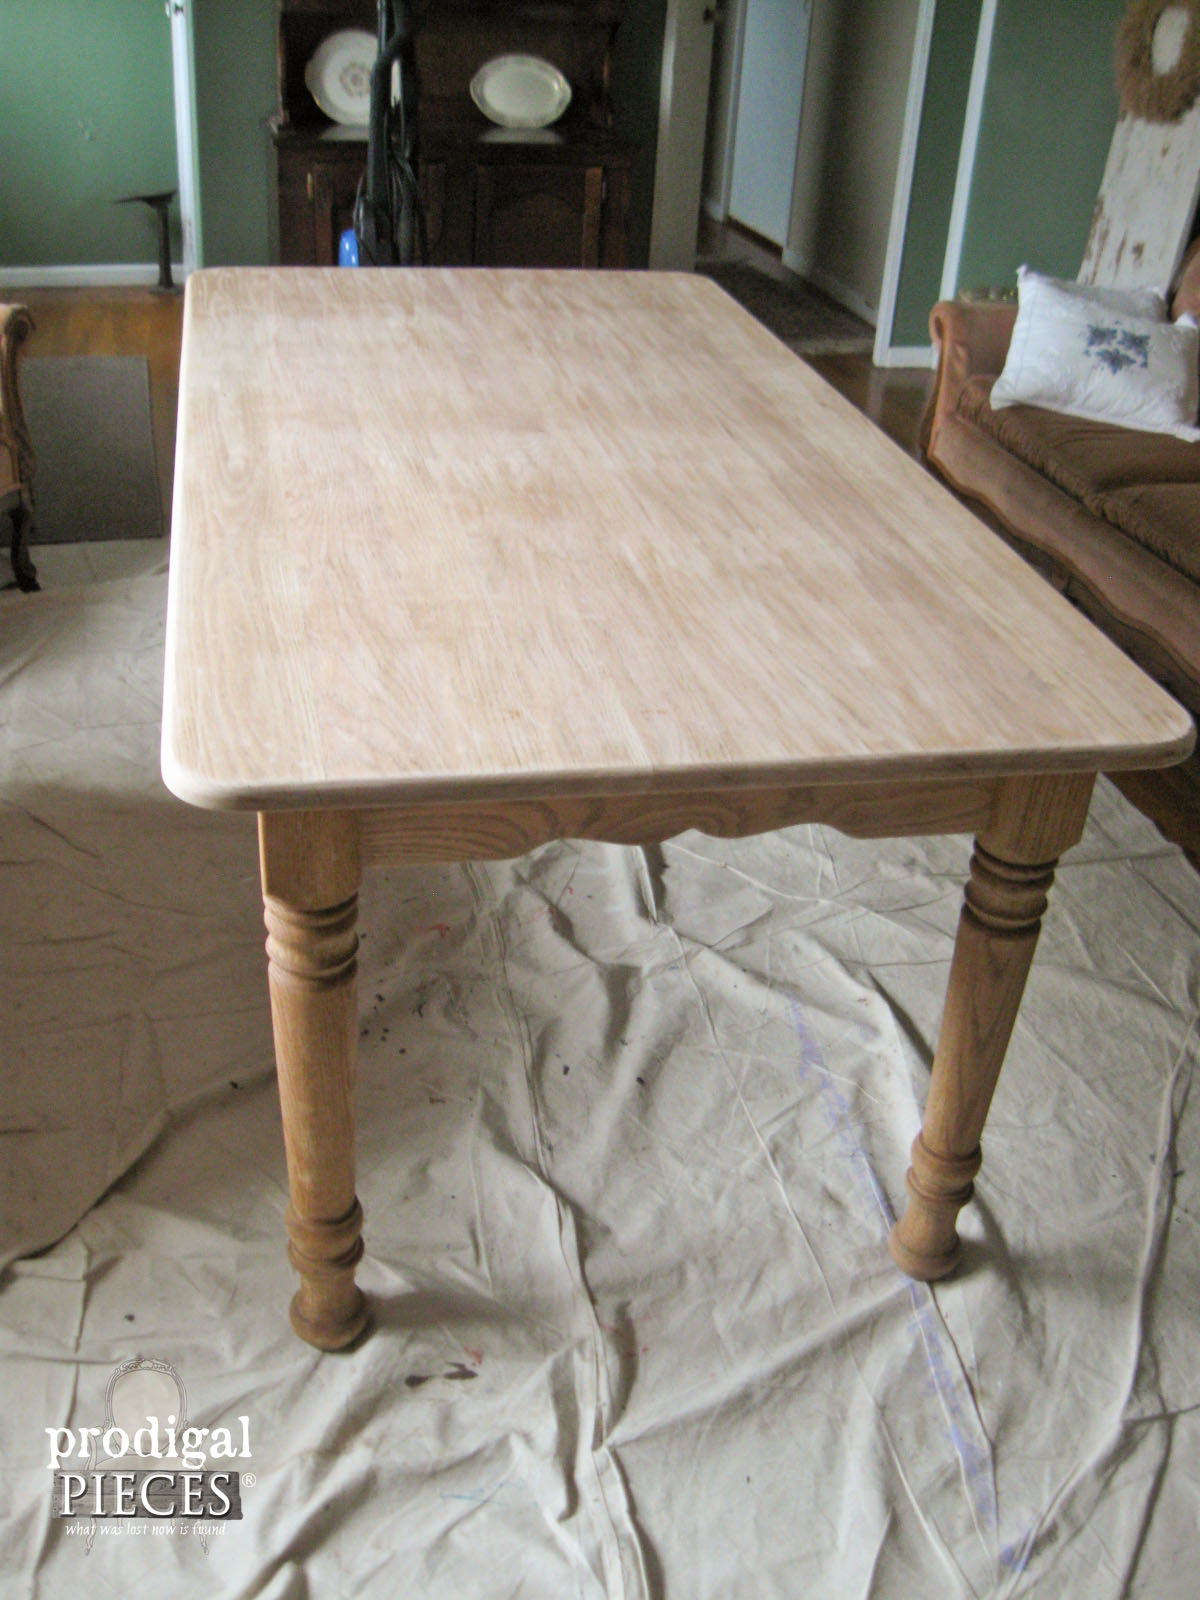
Isn't it gorgeous in the raw?
FINISHING
Now, for my table I wanted to keep the grain showing, but I wanted to create a cooler effect than just staining. My go-to method for making a wash is taking basic flat white paint (or any color for that matter) and thinning it with water – much like lime wash paint. To a cup of paint, I add a tablespoon of water (more or less depending on quality of paint).
Making sure to have a lightly dampened cotton cloth ready, I simply brush the whitewash on in small batches. Immediately after and following the grain of the wood, I wipe off as much of the wash as I want, leaving behind the grain filled with white. If you want less left, you can always dampen your rag more and wipe off and begin again.
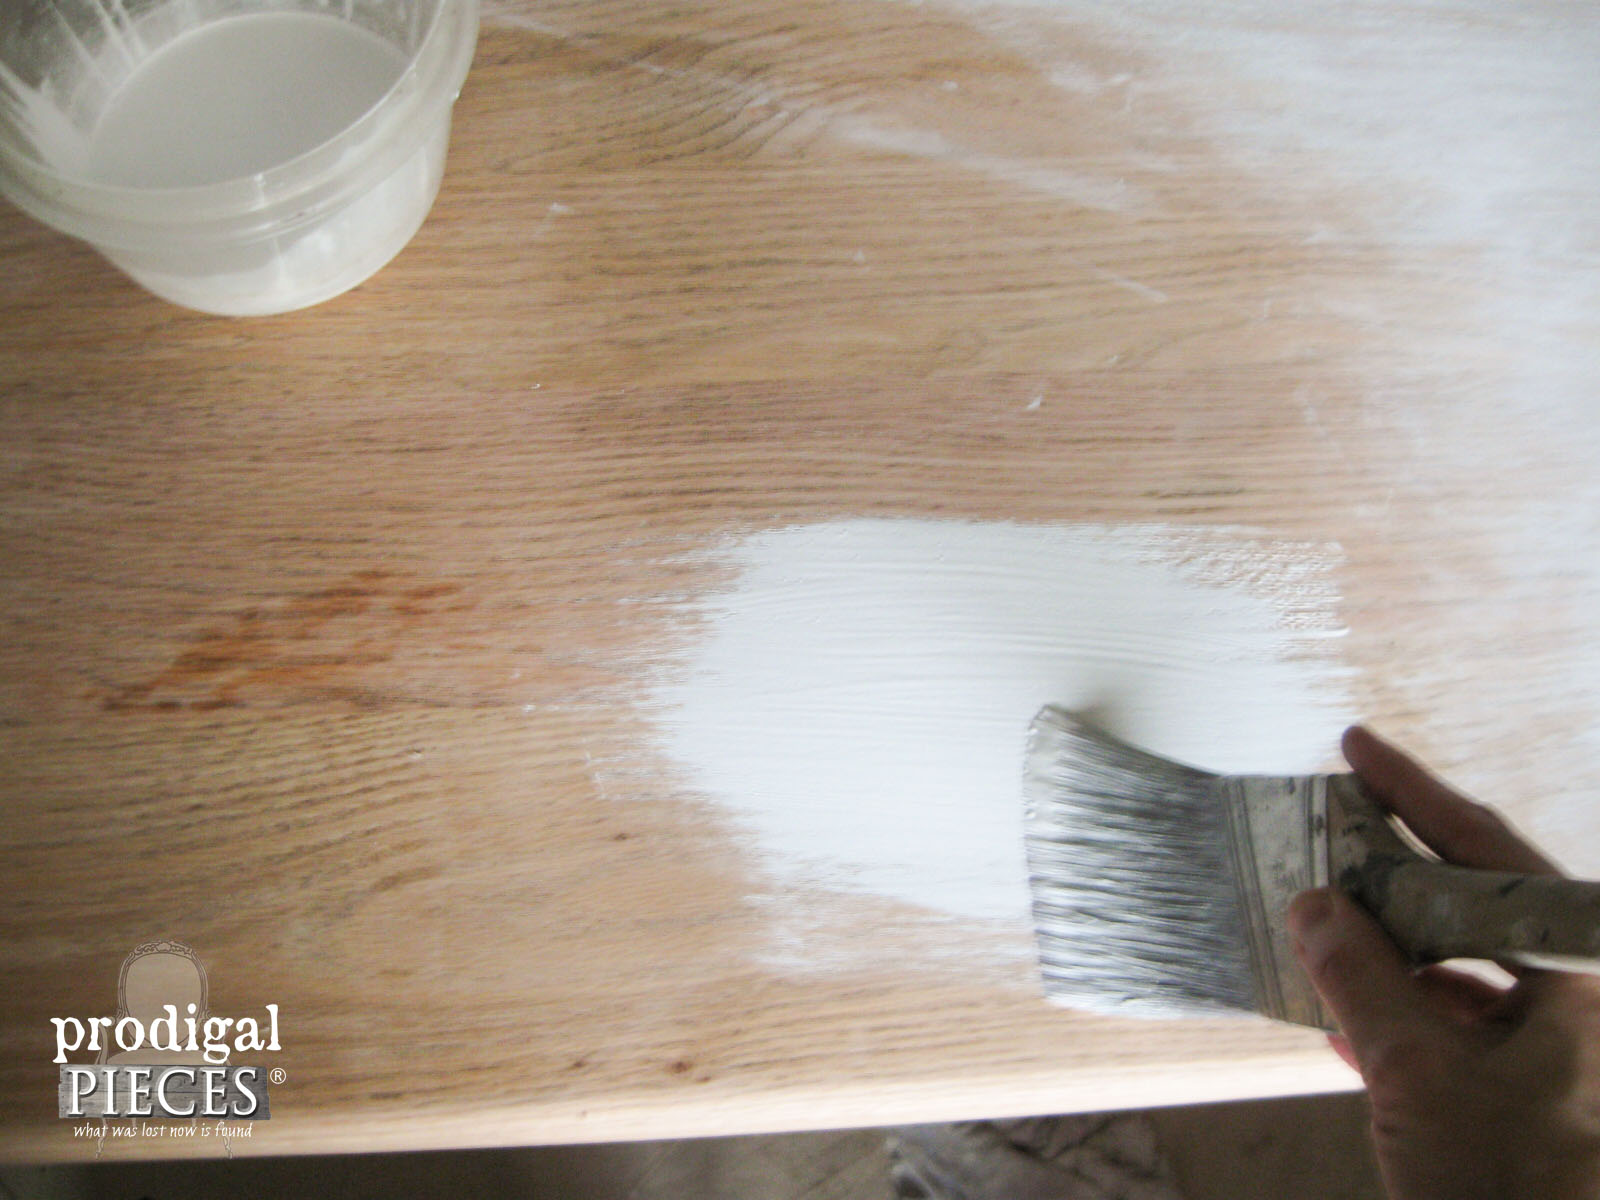
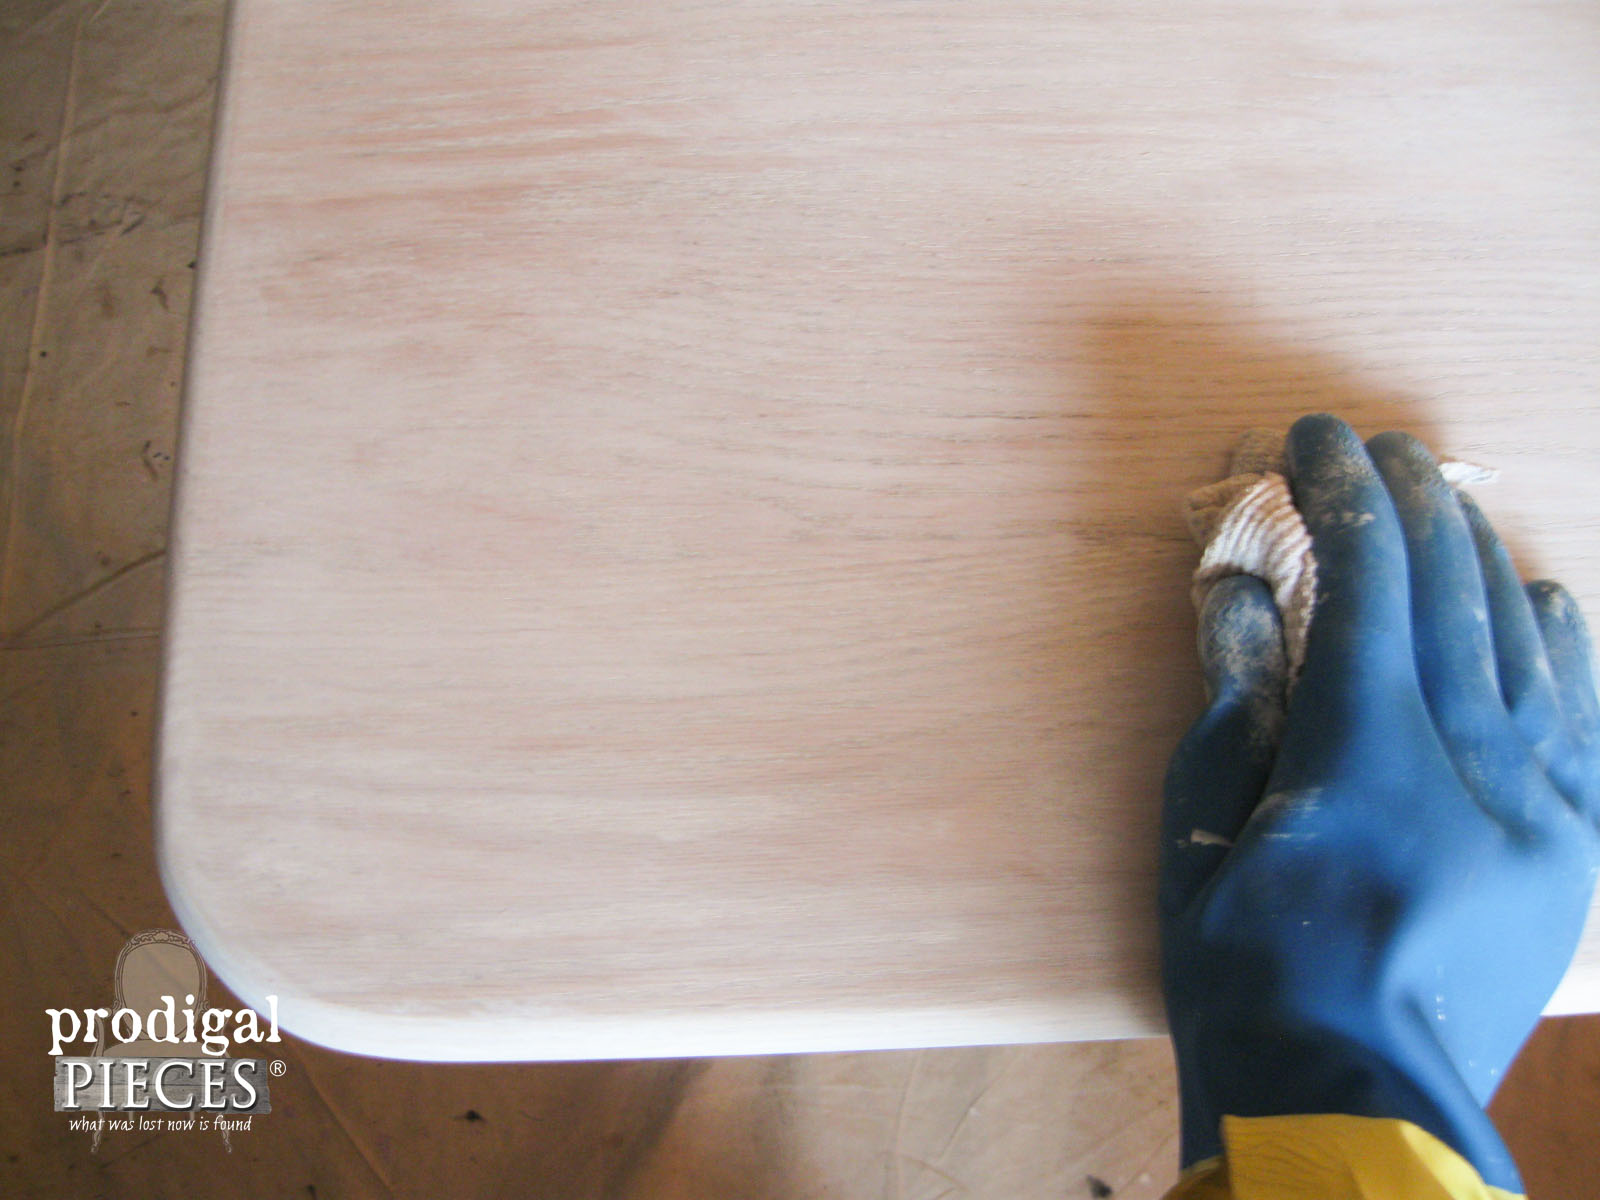
The end effect is gorgeous.
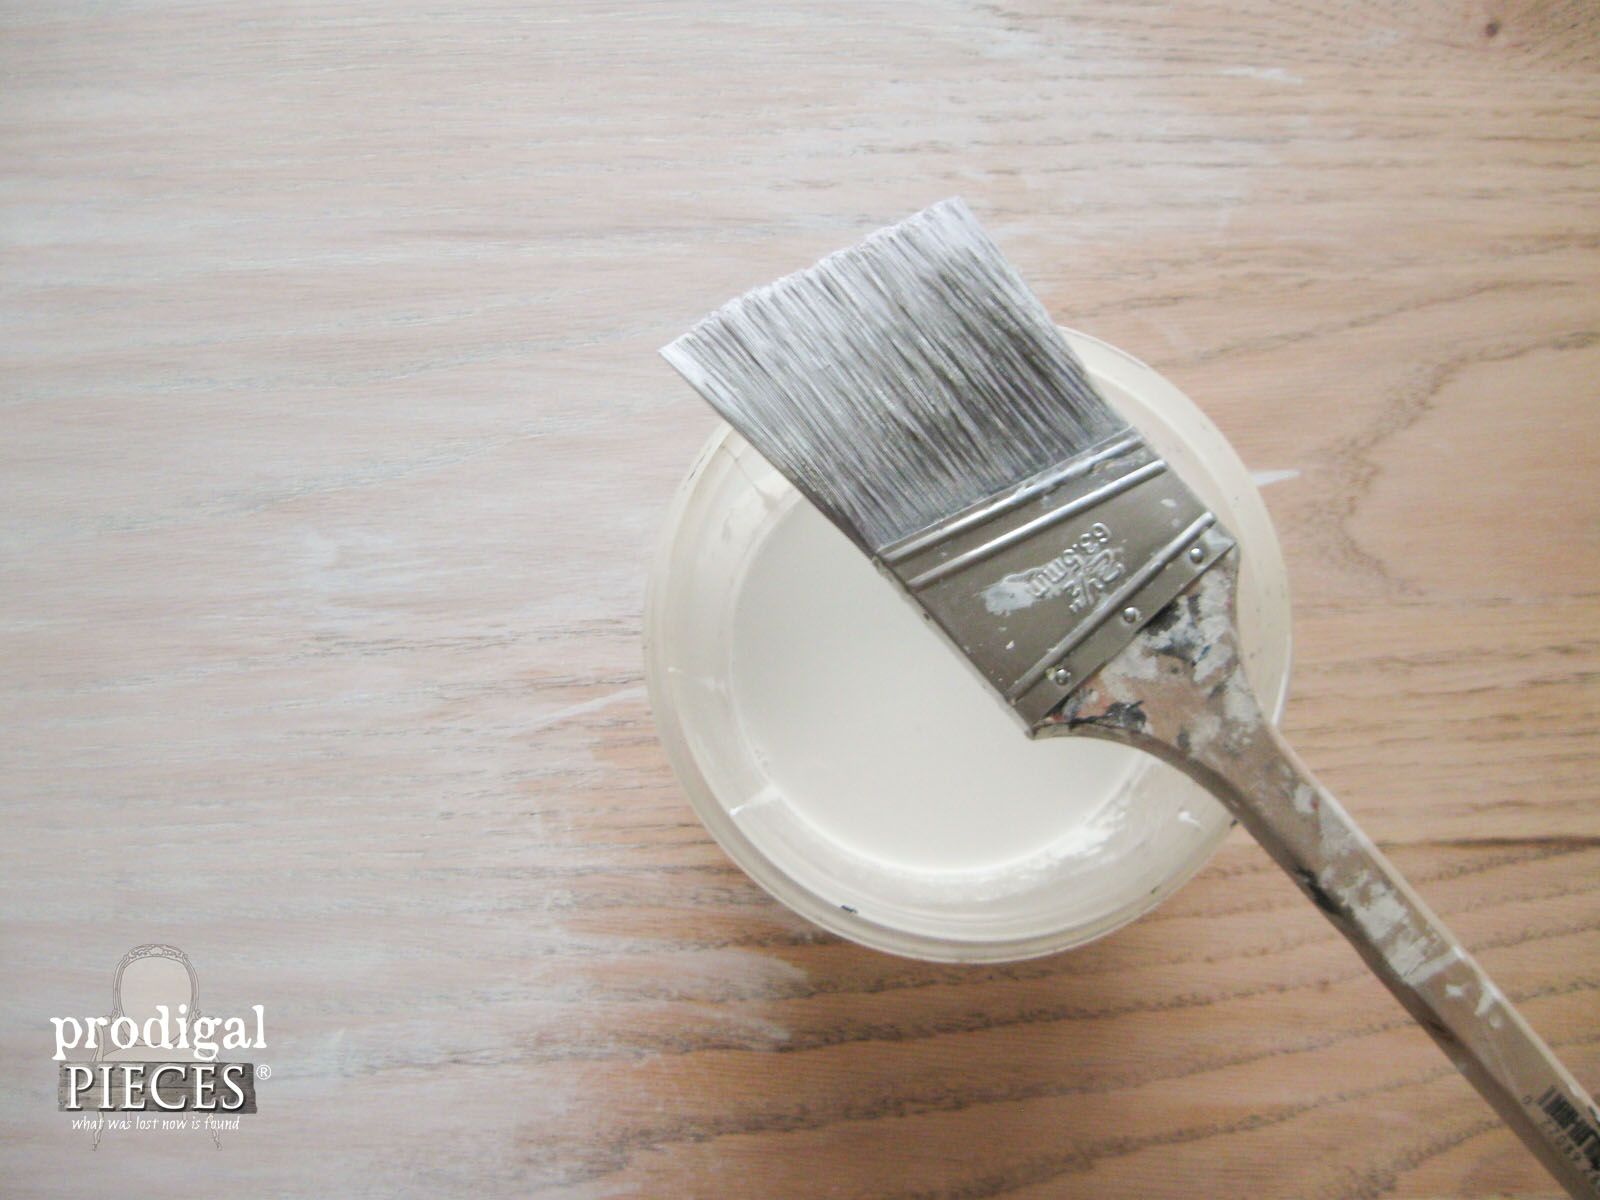
MORE FUN
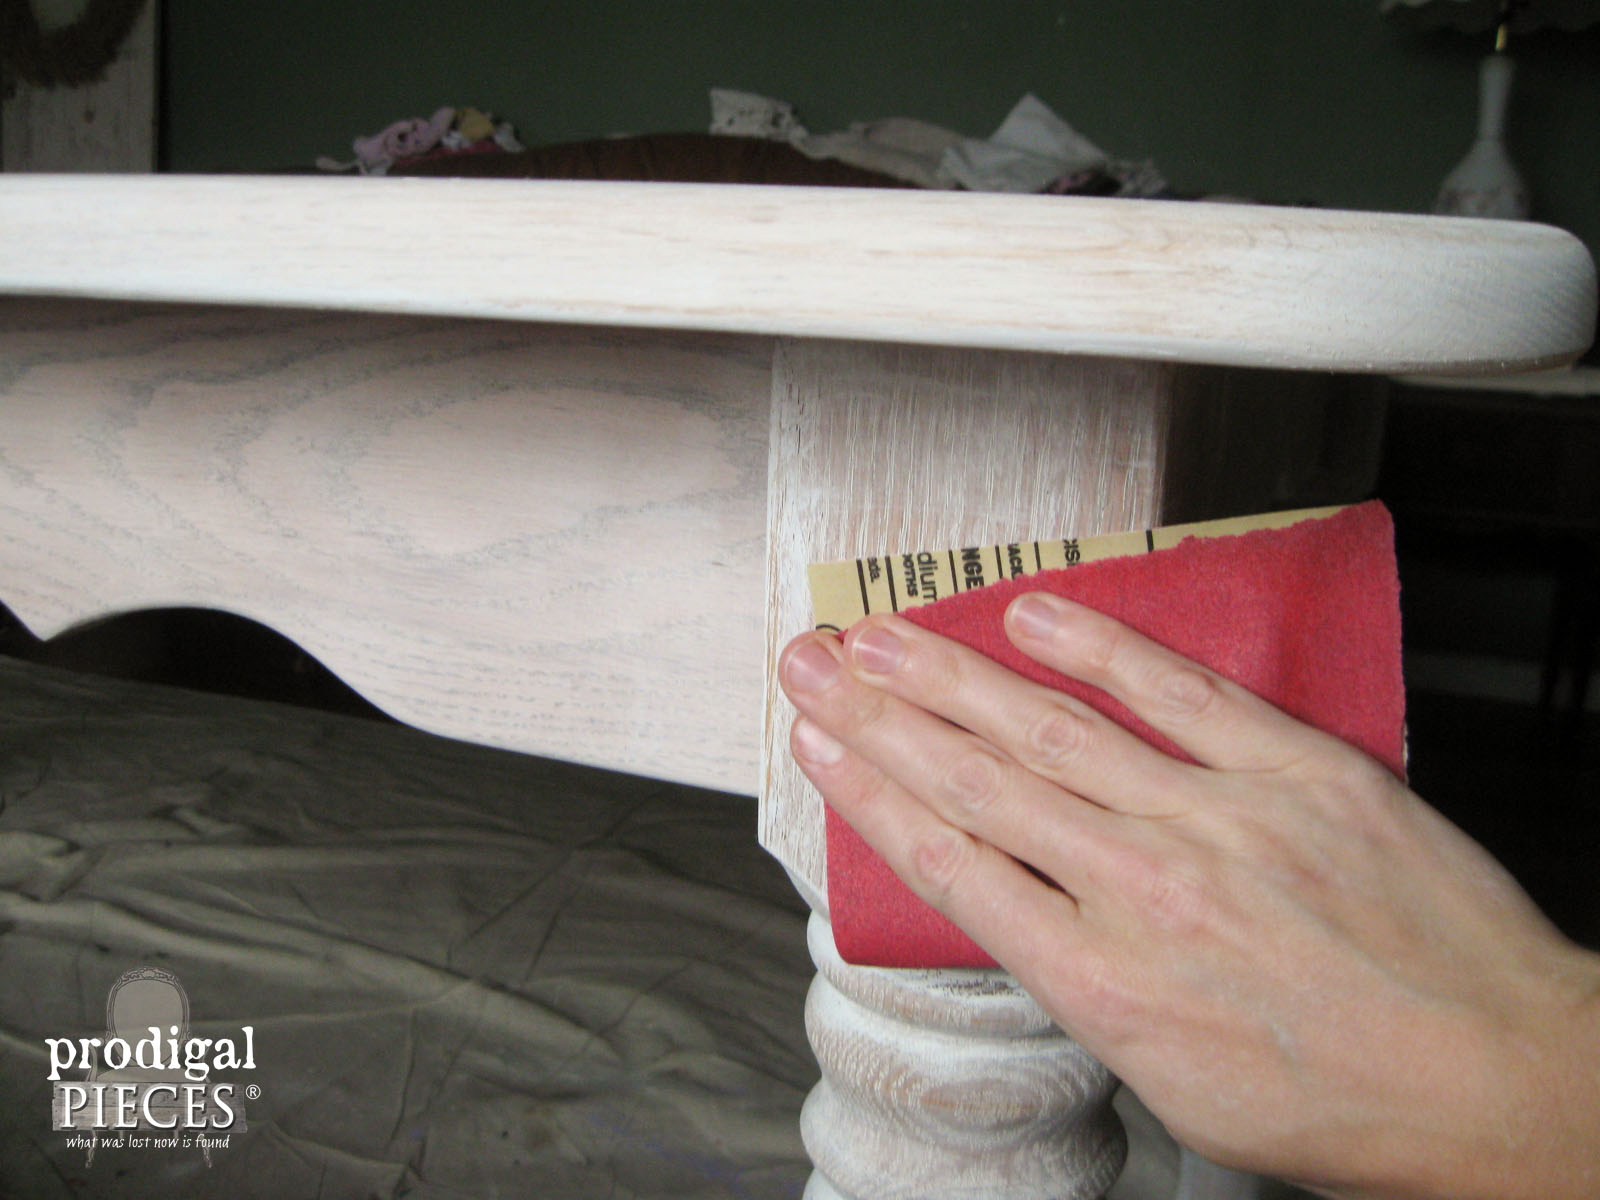
Once my table is entirely whitewashed, I'm using a 150 grit sandpaper to add slight distressing to the edges and legs. That gives a time-worn feel.
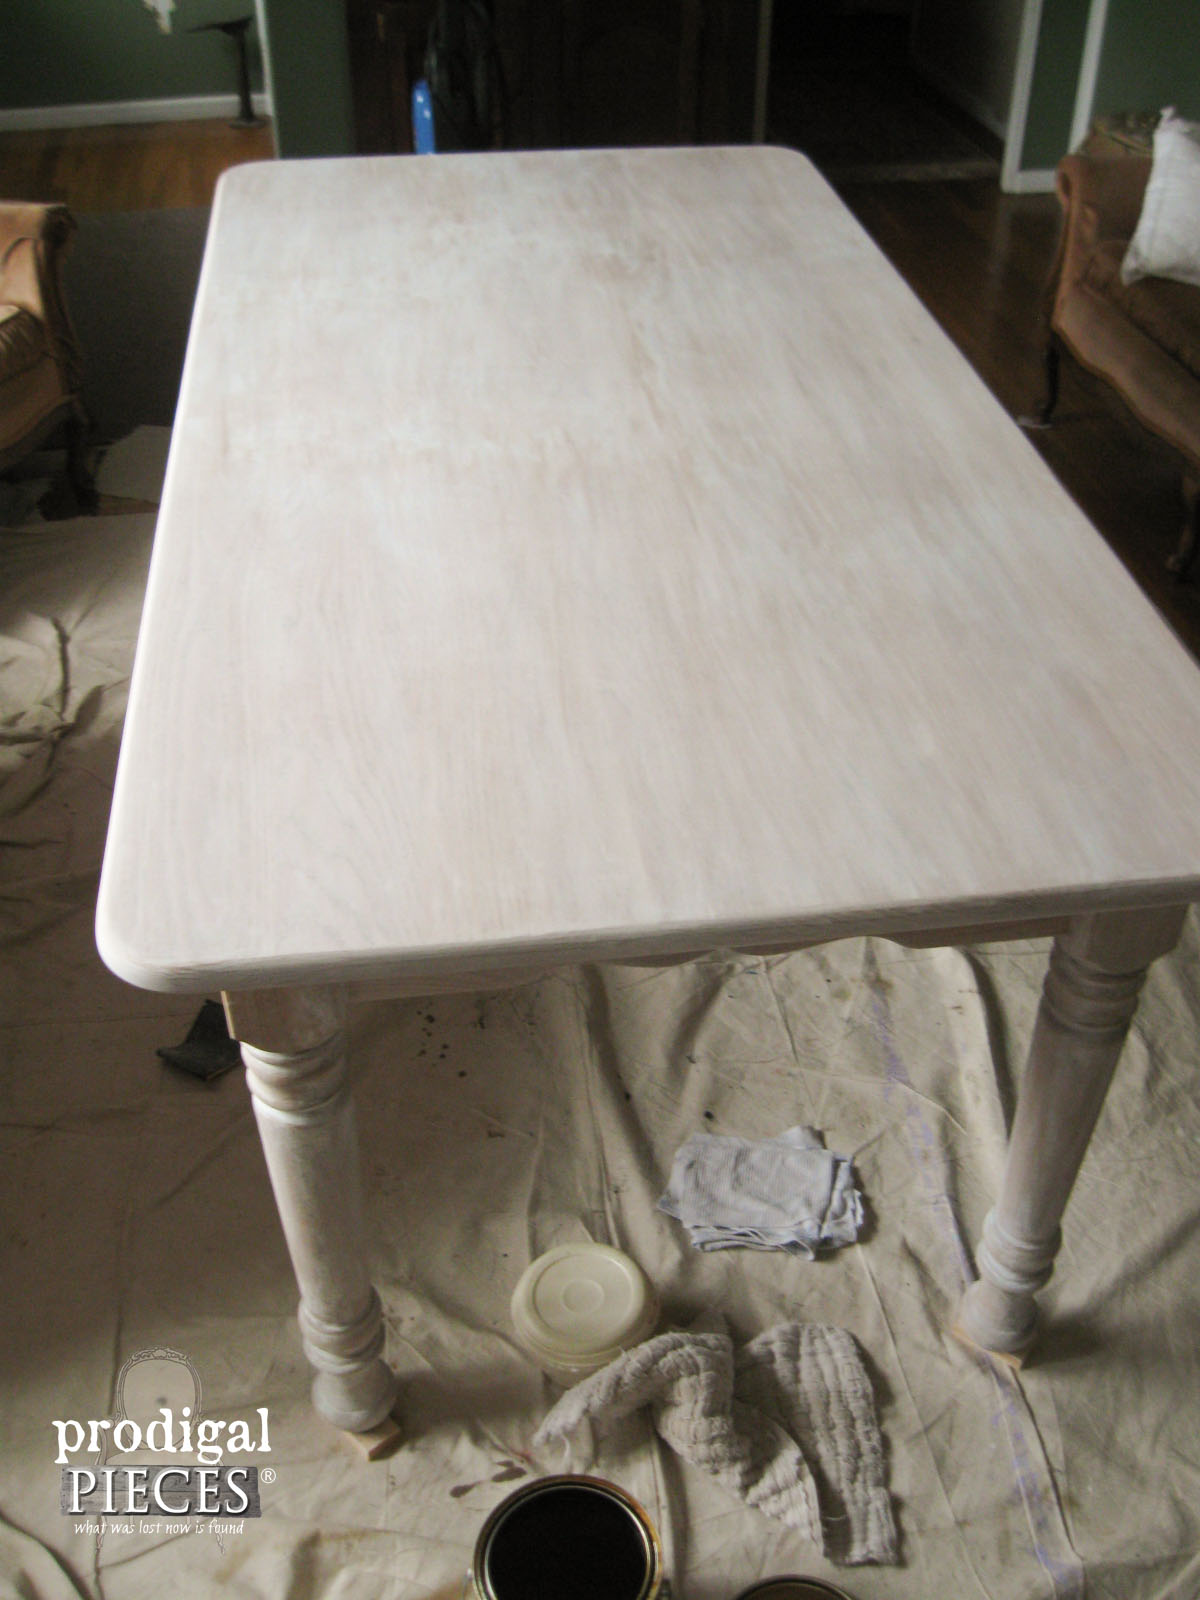
The table looks pretty bleached at this point, but that's okay. The topcoat I will be adding will warm it up and make the wood grain pop out.
LAST STEPS
My first choice for a topcoat is my absolute favorite protection is Waterlox.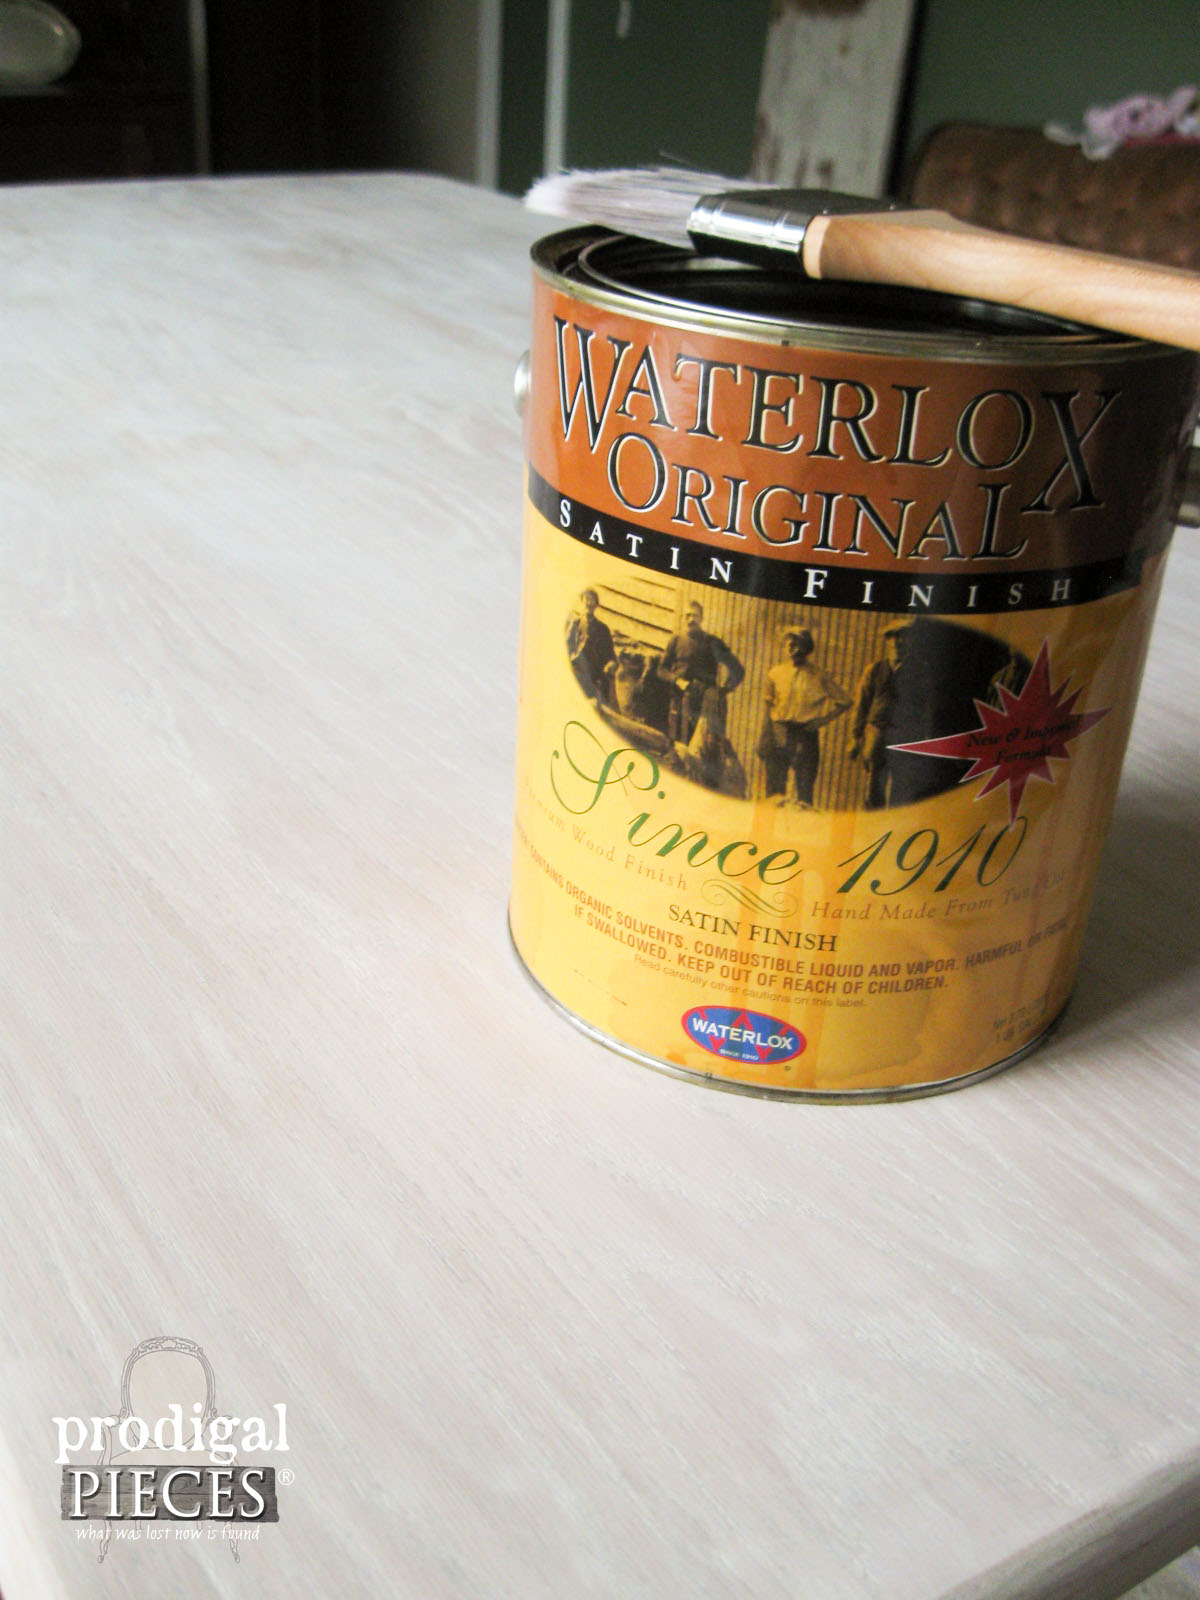 After my father used Waterlox in my childhood home, our wood floors didn't need refinished for 25 years. He asked school officials what they used in their gymnasiums and copied it. We eagerly decided it was for us in our bathroom remodel, and haven't regretted a single moment. Our vanity beads water like none-other, so it was an obvious choice for me.
It is a dream to apply and a gallon will last forever. We will be using it on our new countertops in our kitchen remodel as well.
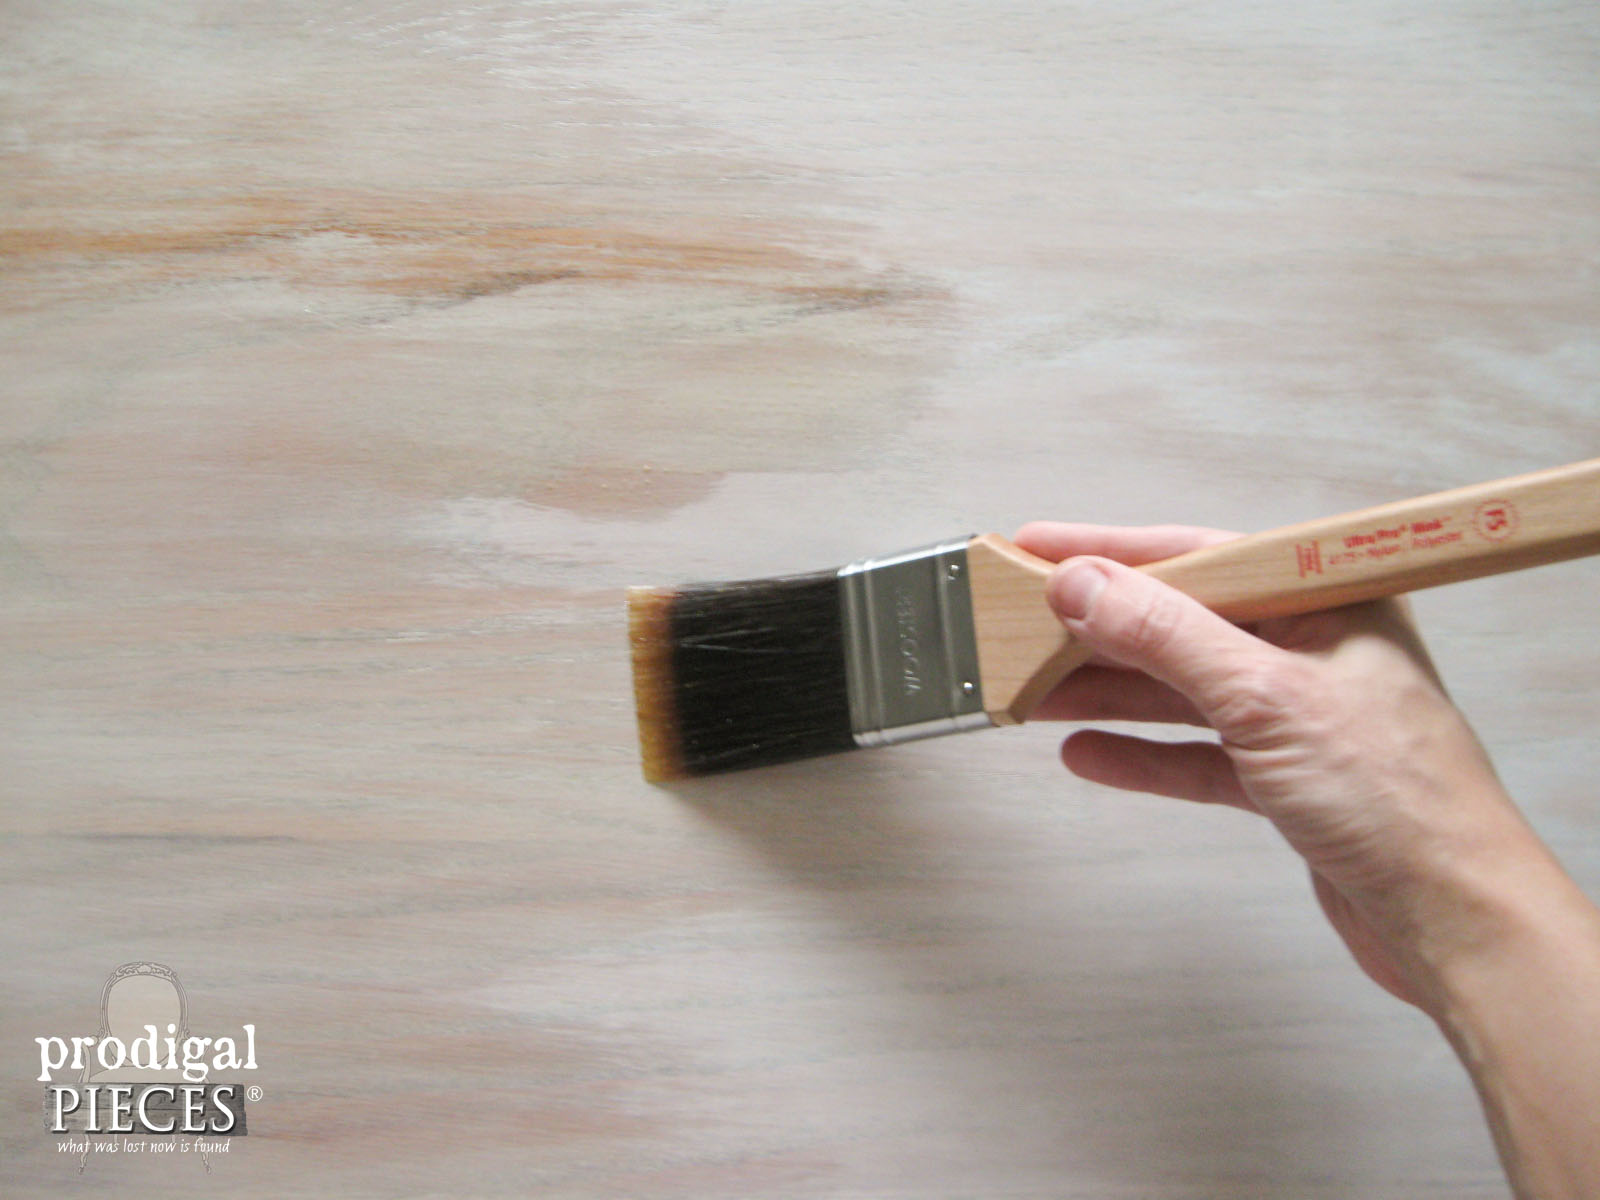
See how the Waterlox is bringing out the grain and warming up the color? I get giddy at this point. tee hee hee. It does slightly amber whatever you use it on, but that what I was after.
FUN TOOLS
Now that the table is done, my dining chairs are next. In my previous post, I told how I changed up our seating and had planned to update them. No better time for me to whip out my HomeRight Spray Shelter.

This thing is so cool! It is perfect for indoors or out so you can reduce or eliminate overspray and protect your project. My dining chairs were the first candidate for the makeover. Can we say 1980's? bluck.
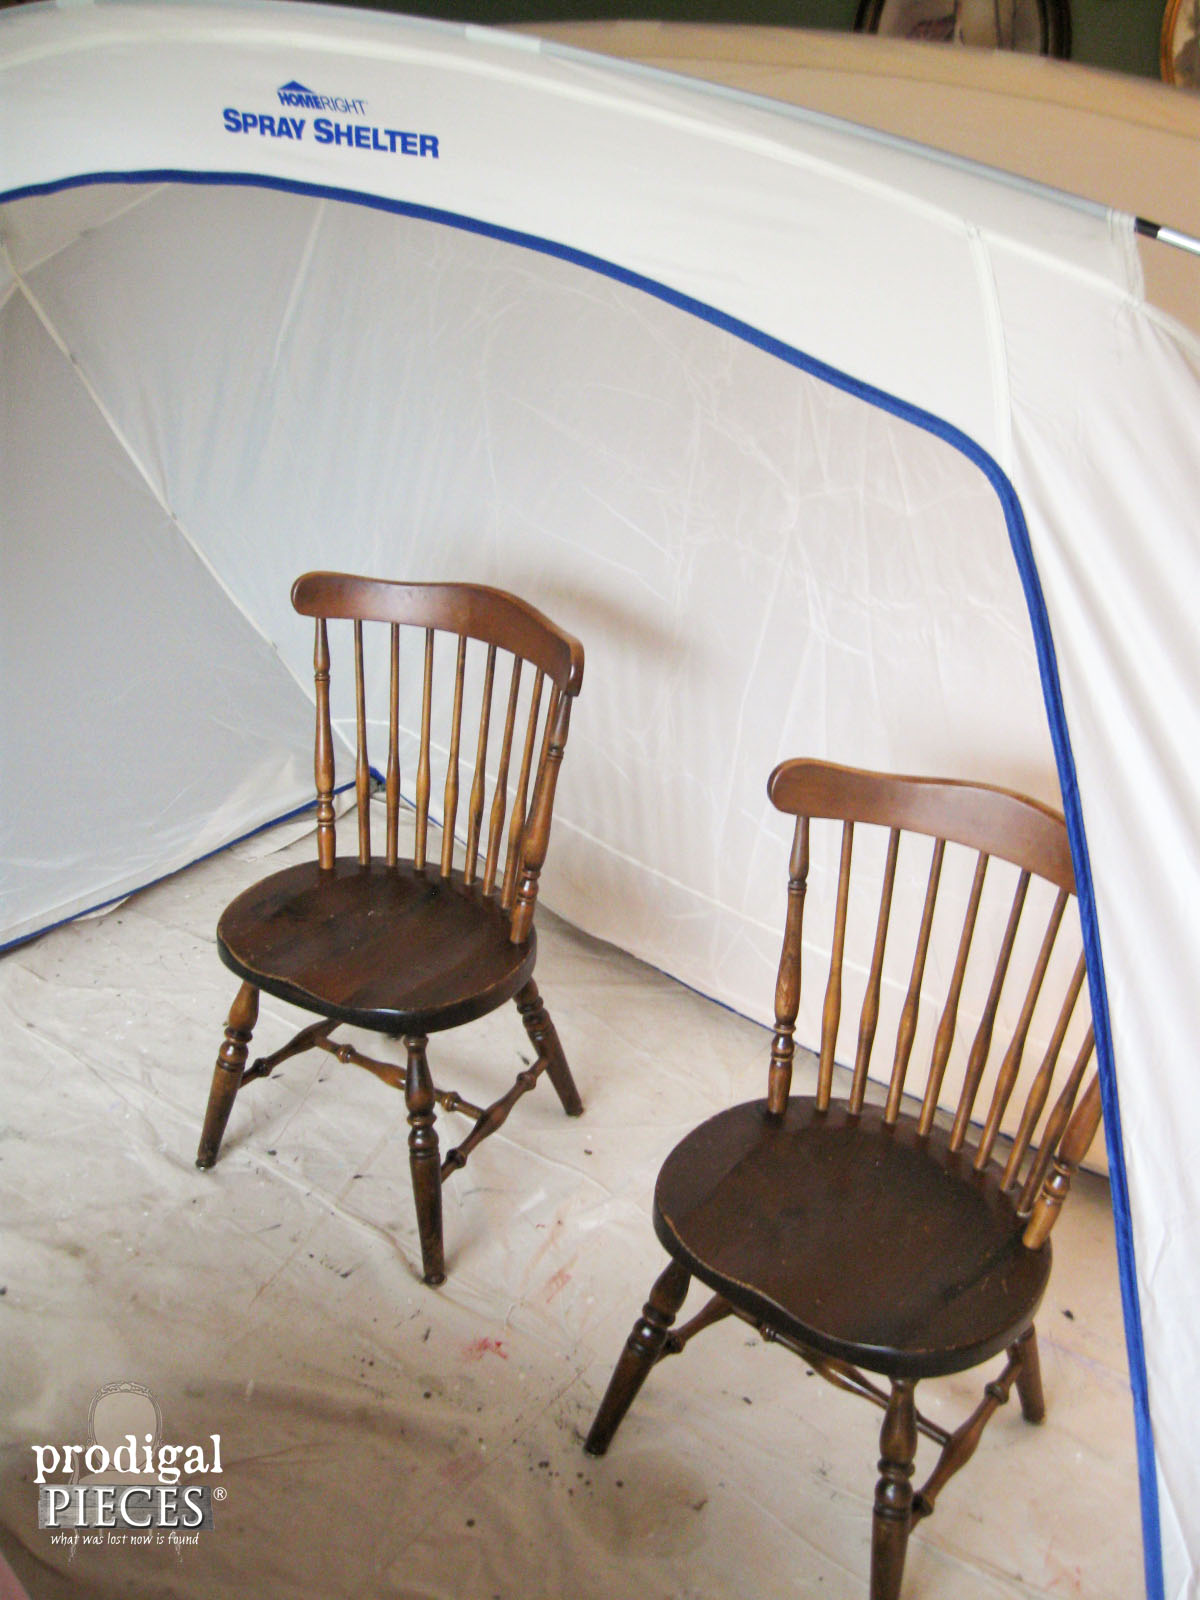
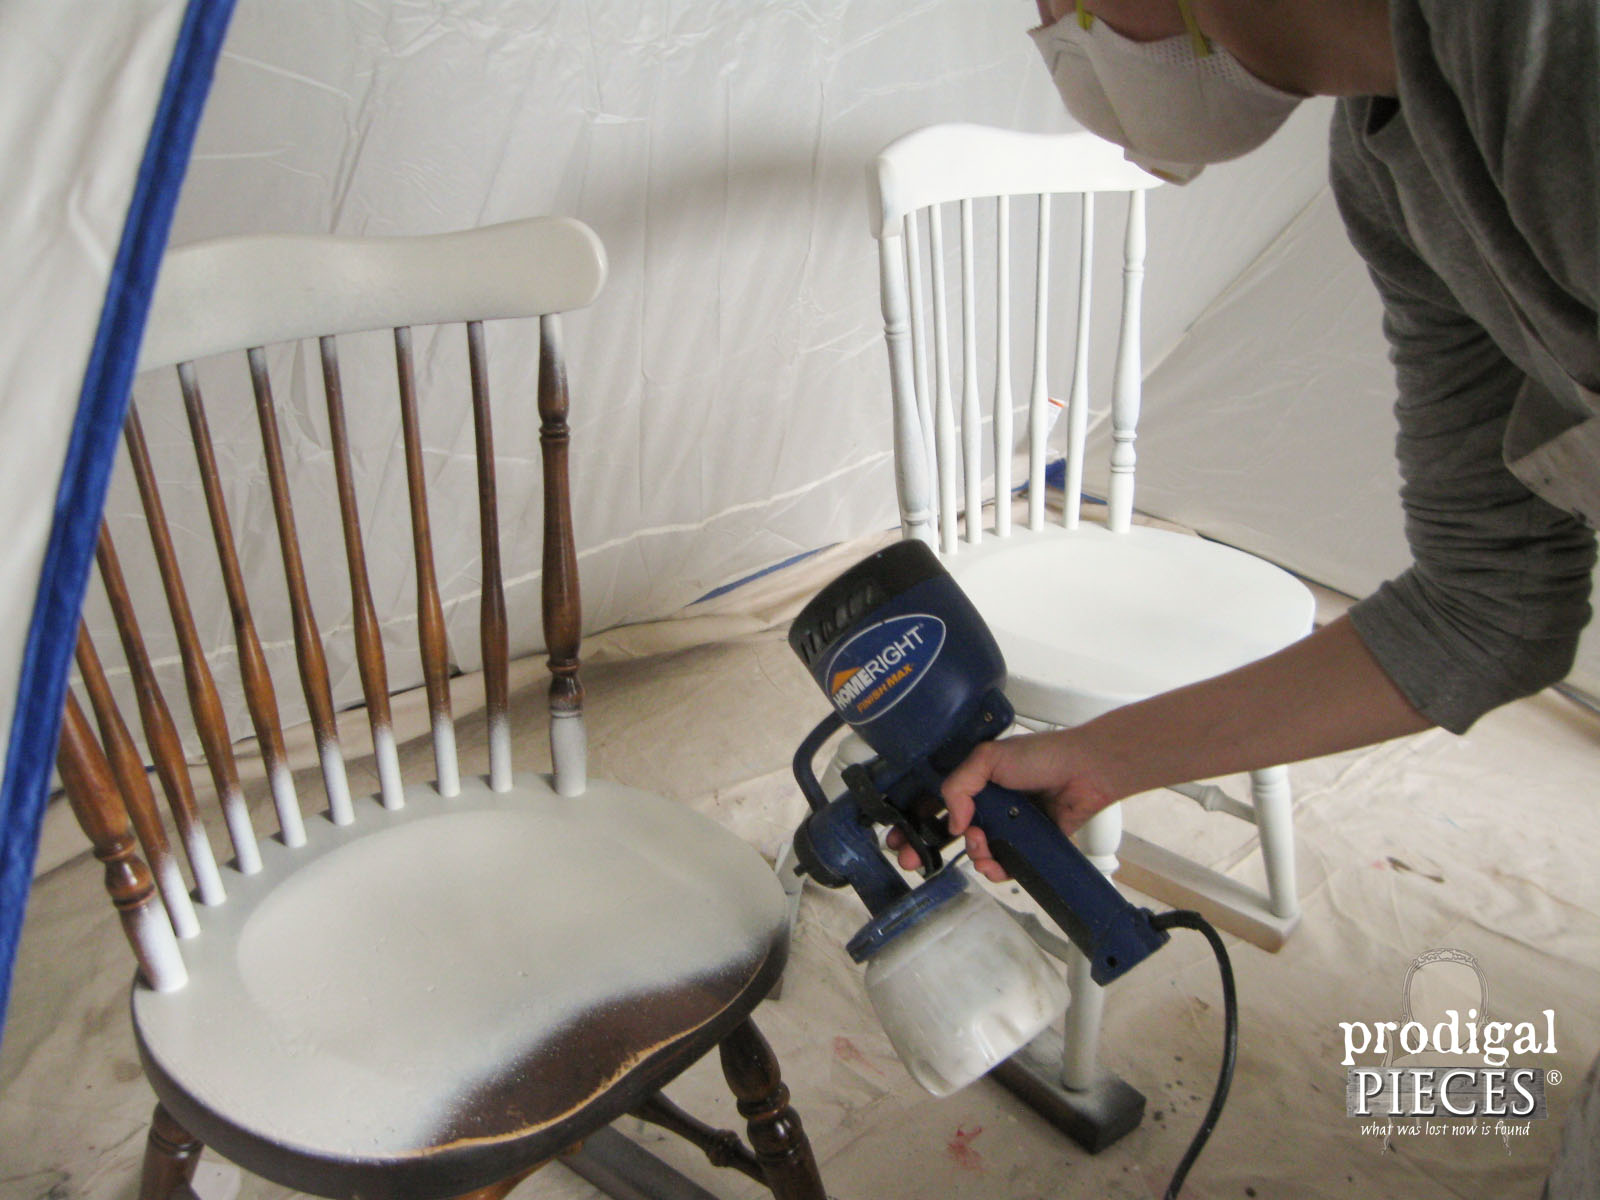
The shelter is easy to set up and just needs a tarp to protect your floor or grass. All I needed next was my favorite painting tool, the HomeRight Finish Max sprayer. I've raved about it when I redid another farmhouse table, our patio makeover, my highchair (with video demo), and my red VW bus chest of drawers. So very easy to use – it will make you giggle at the results.

Yes, I know I look a sight, but don't you when you're painting? tsk. *side note: I use this shelter in my living room, and don't mind if it made a little mess because we're remodeling. However, I won't use this in a finished room unless everything is under cover. There is a very slight dust created, so be sure to wear a mask. I can't be spraying outside when it's a high of 10!
WHOA!
I have these chair painted in 10 minutes, and can't tell you the time it saves me and my wrists not having to paint those spindles. Yay! Don't forget to use your Rapid Clean Kit (less than $10) for a 5 minute clean-up.
Voila! Done. {{cue music: "That's the way, uh-huh, uh-huh, I like it!}}
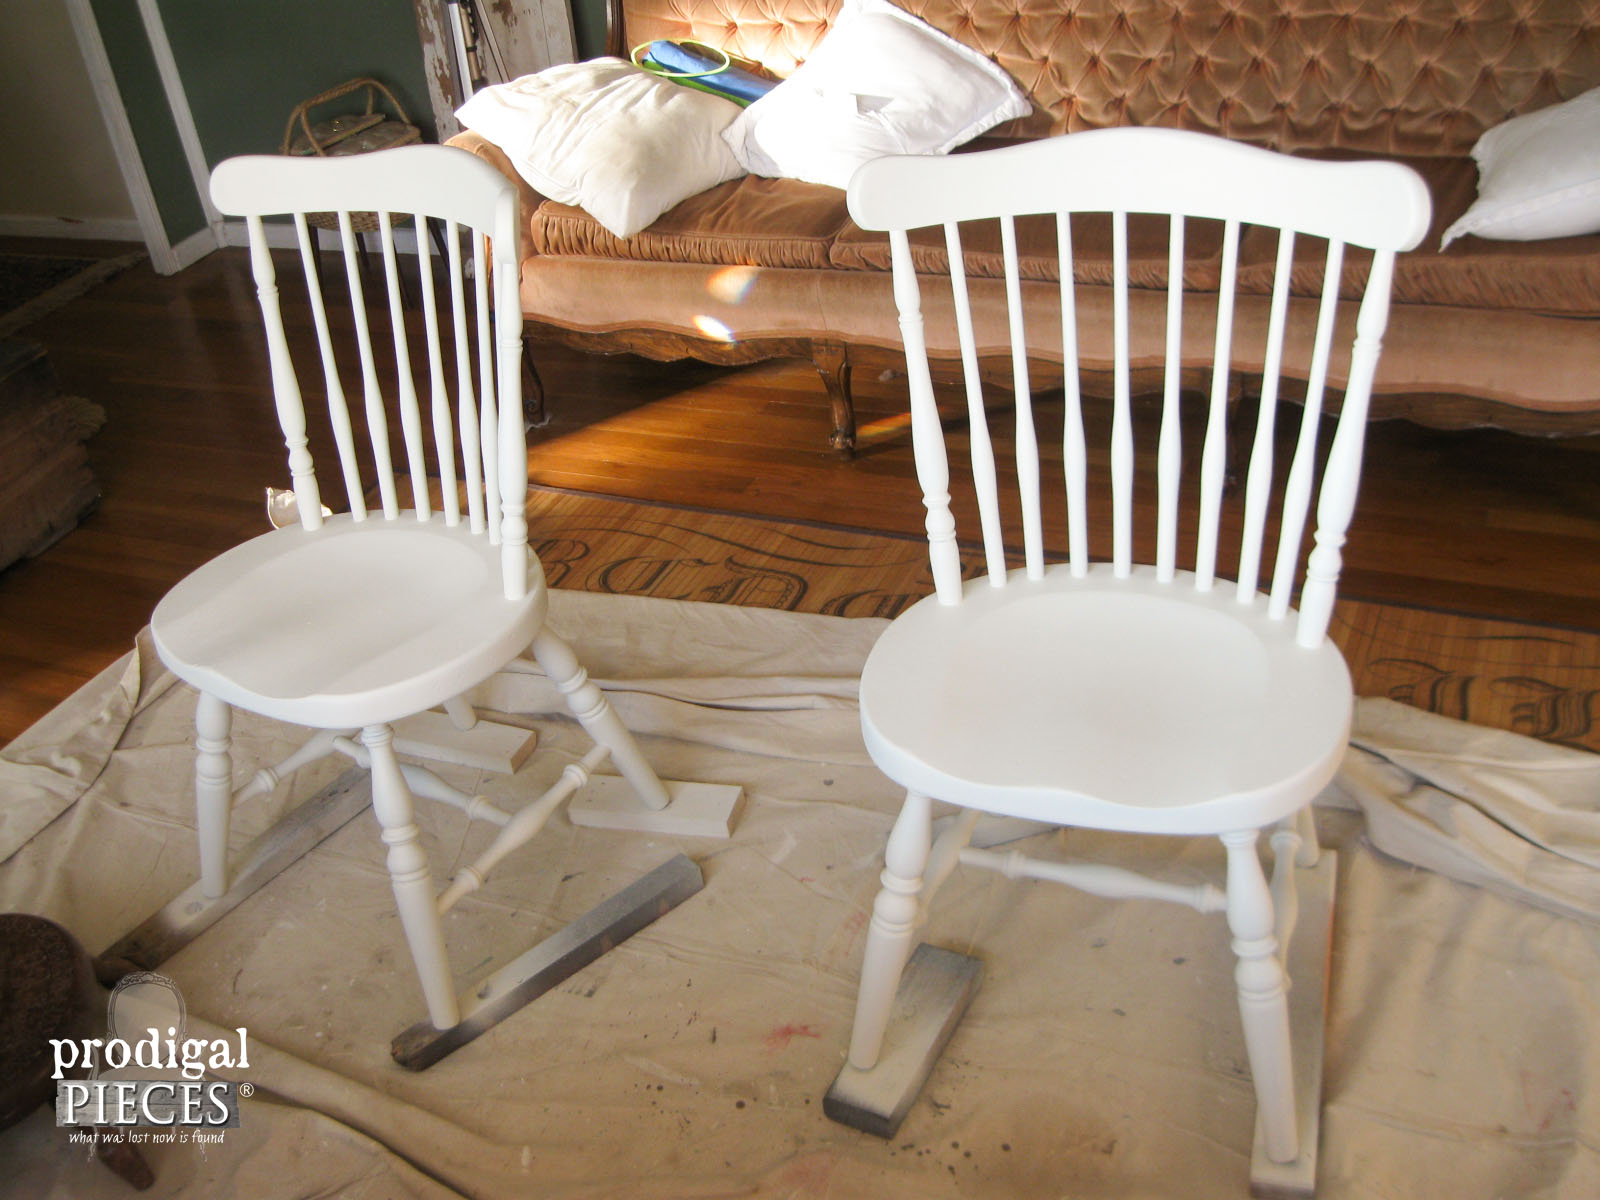
Now, of course I couldn't just leave them perfect. Nope. I used my handmade furniture waxto topcoat. Now they're perfect.
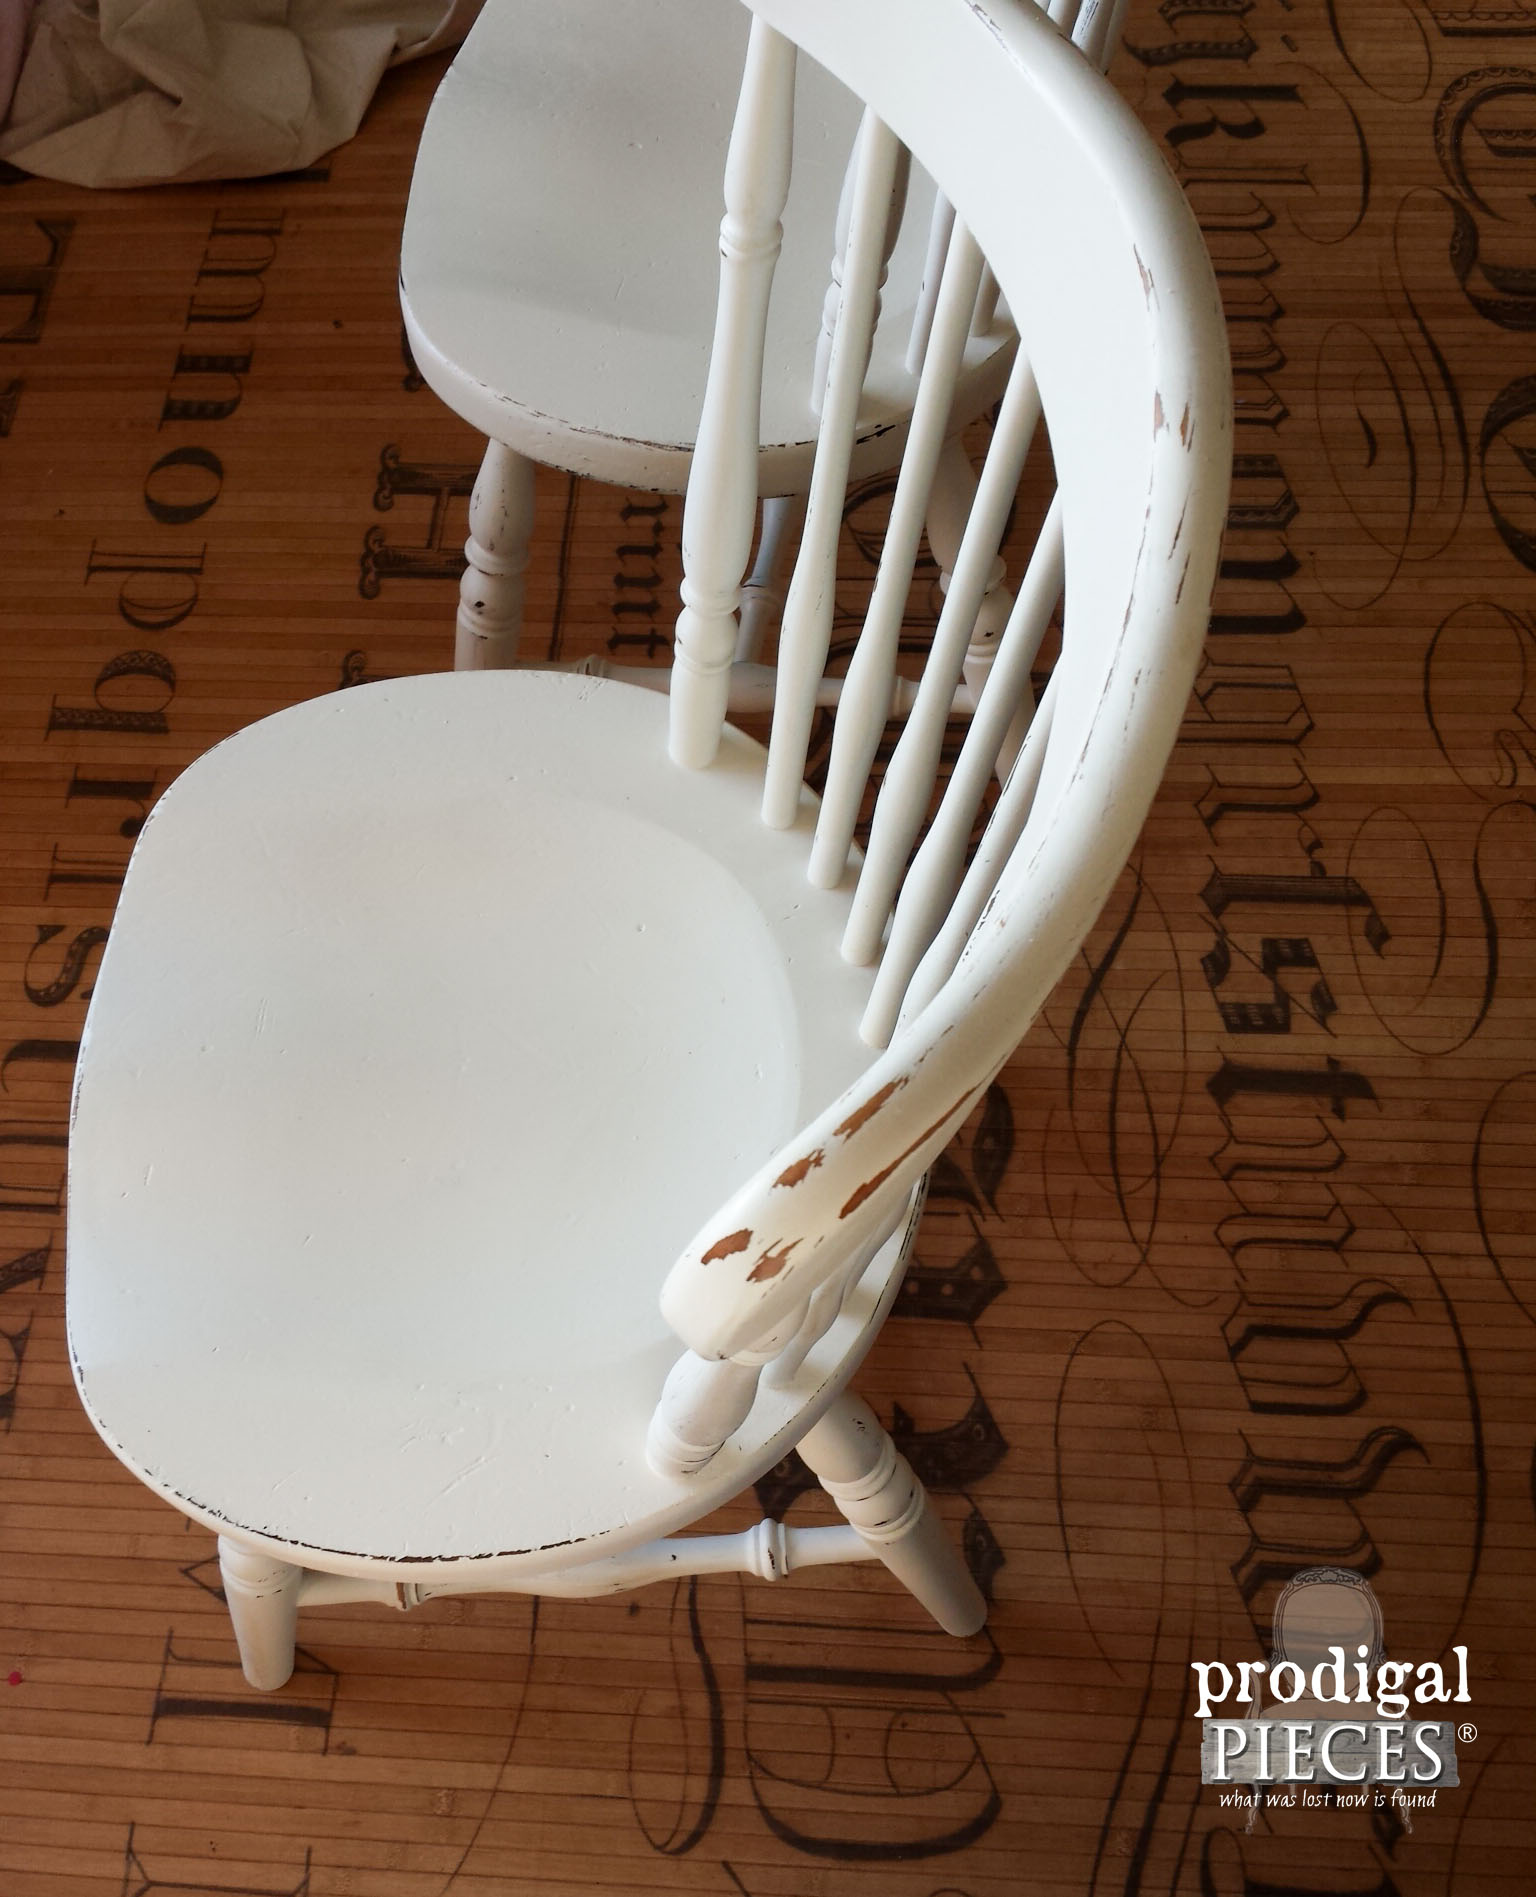
THE REVEAL
Ready to see it all together?
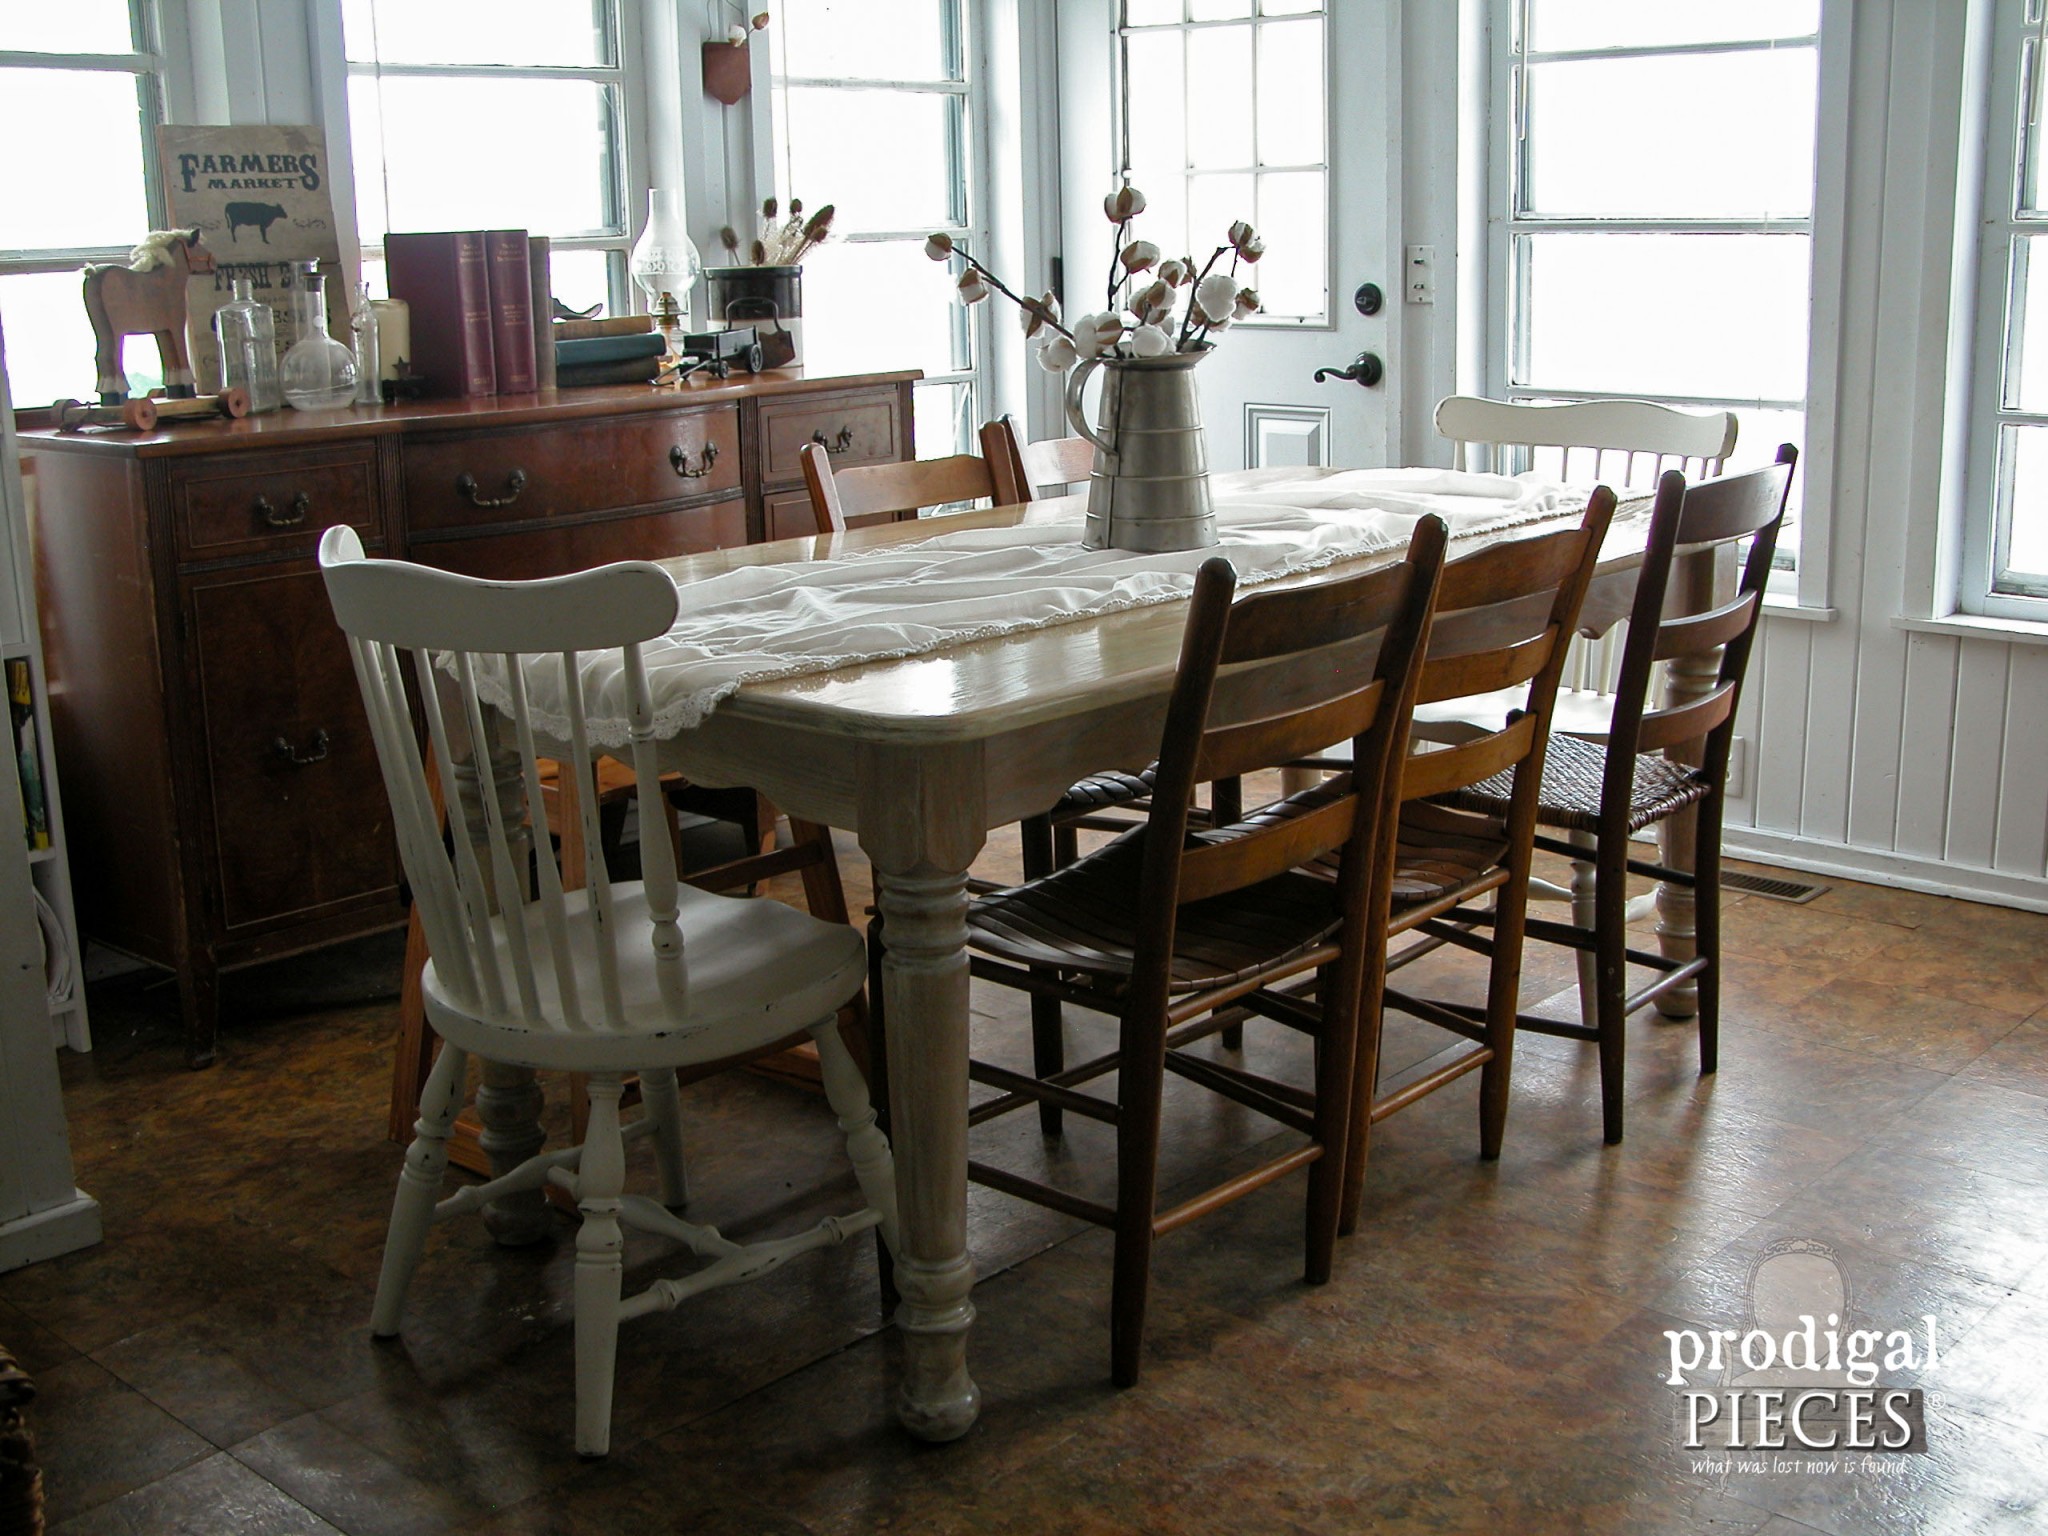
I couldn't be happier with the results, and even better is no more folding table with concave center! Our table is the heart of our home for homeschool, dining together, and place to gather.
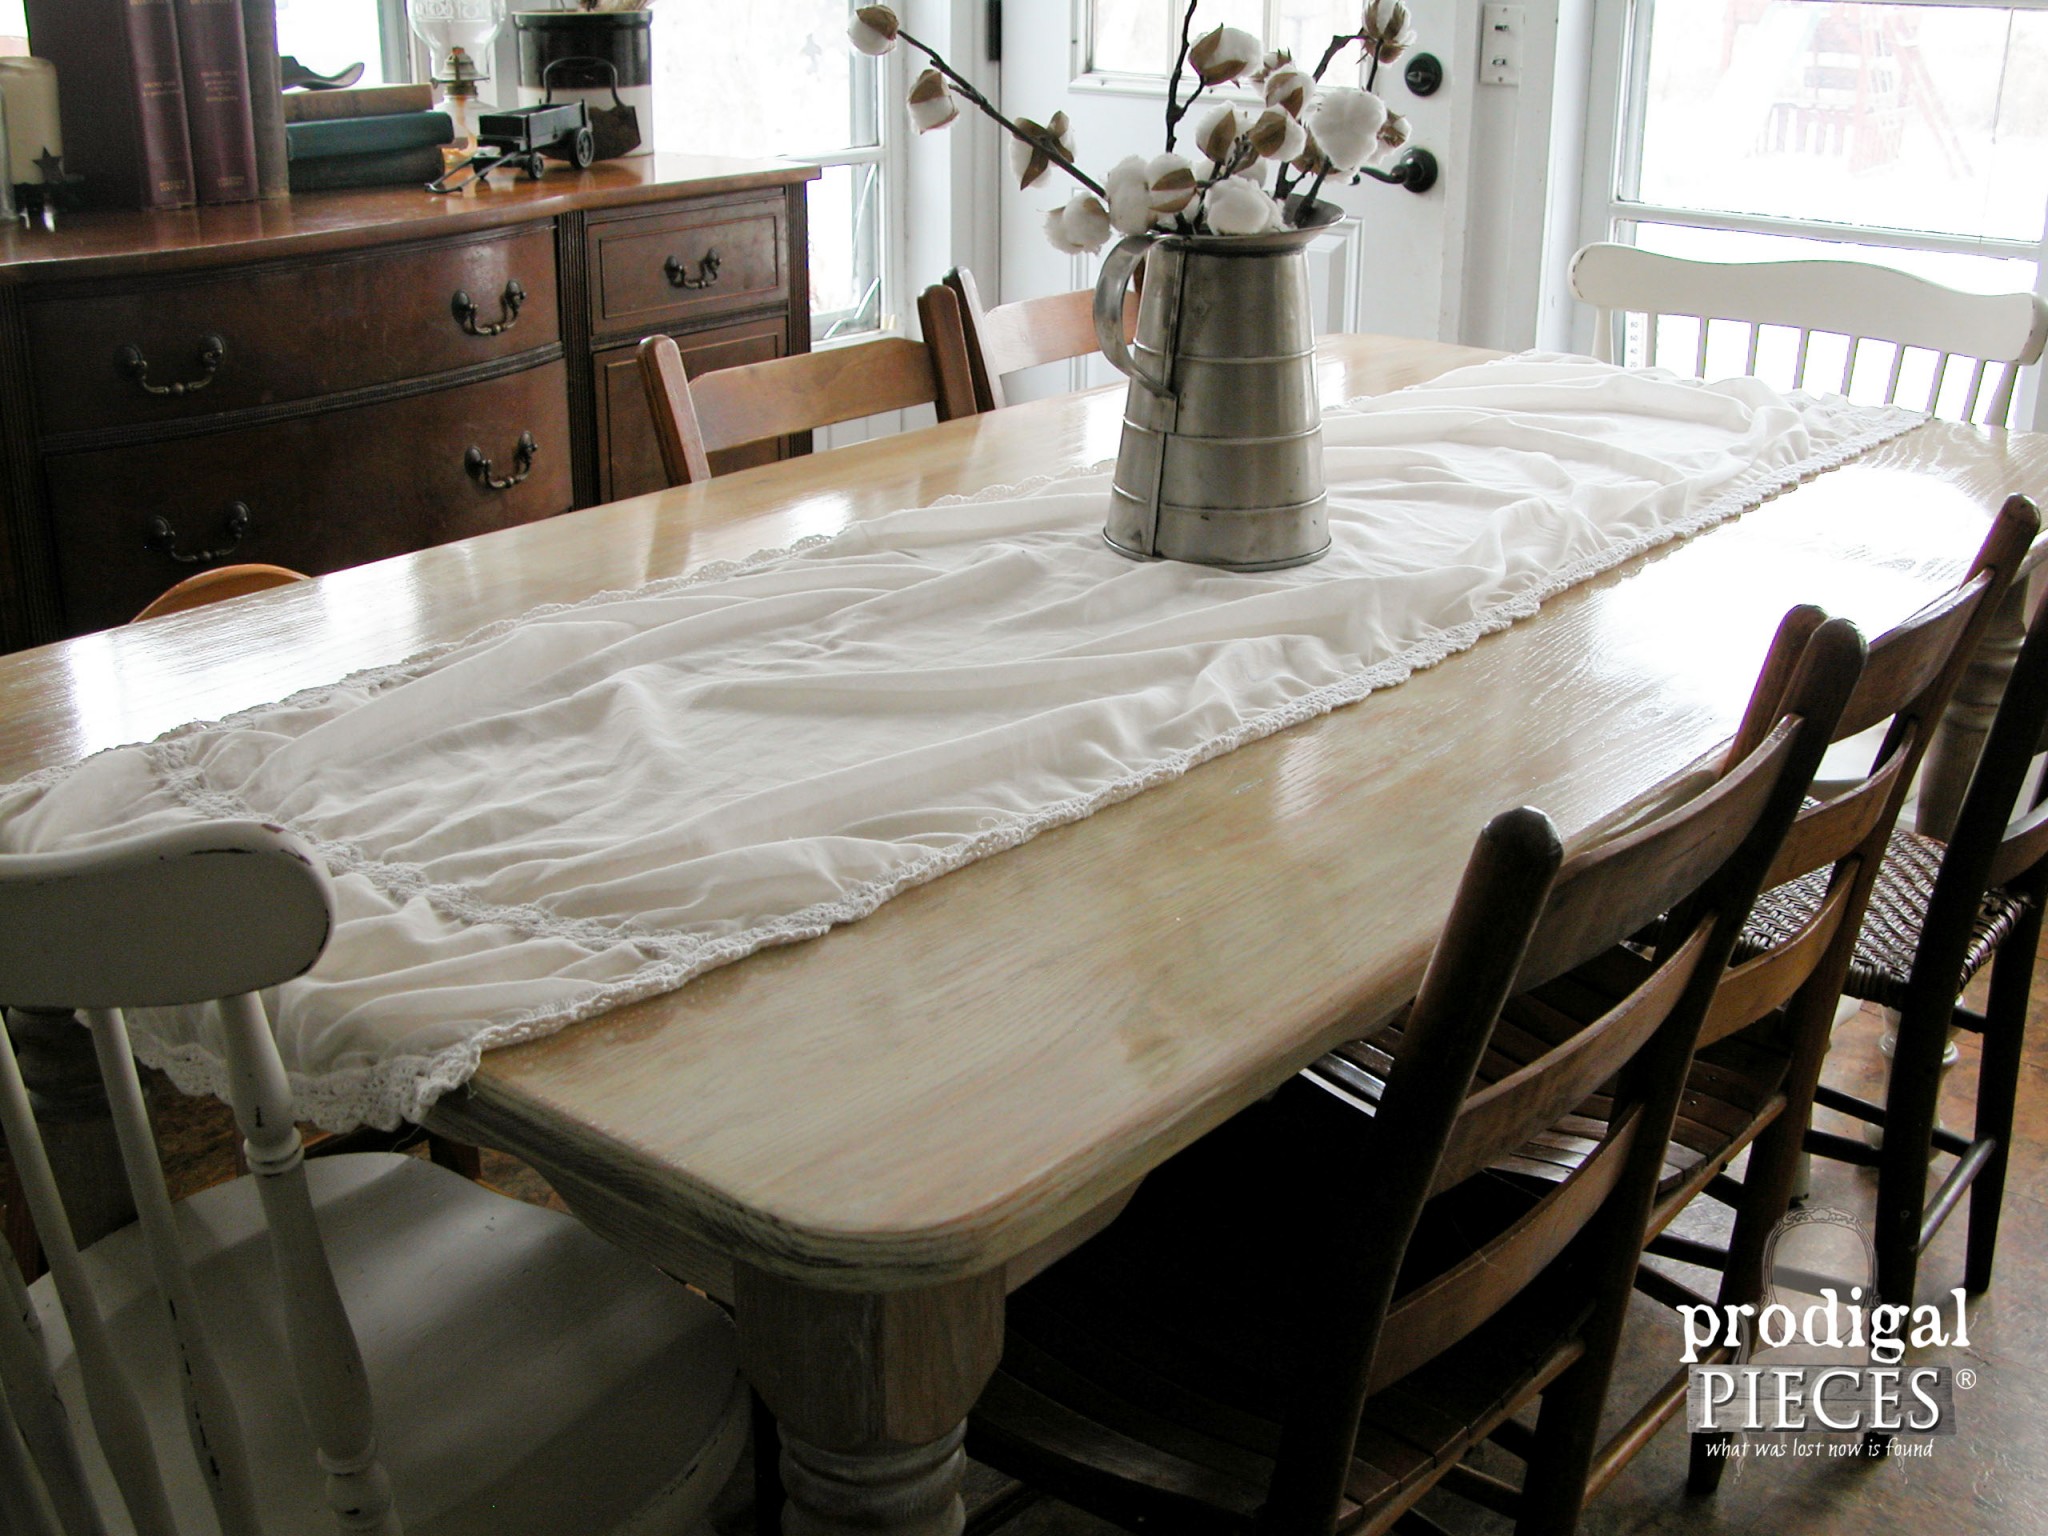
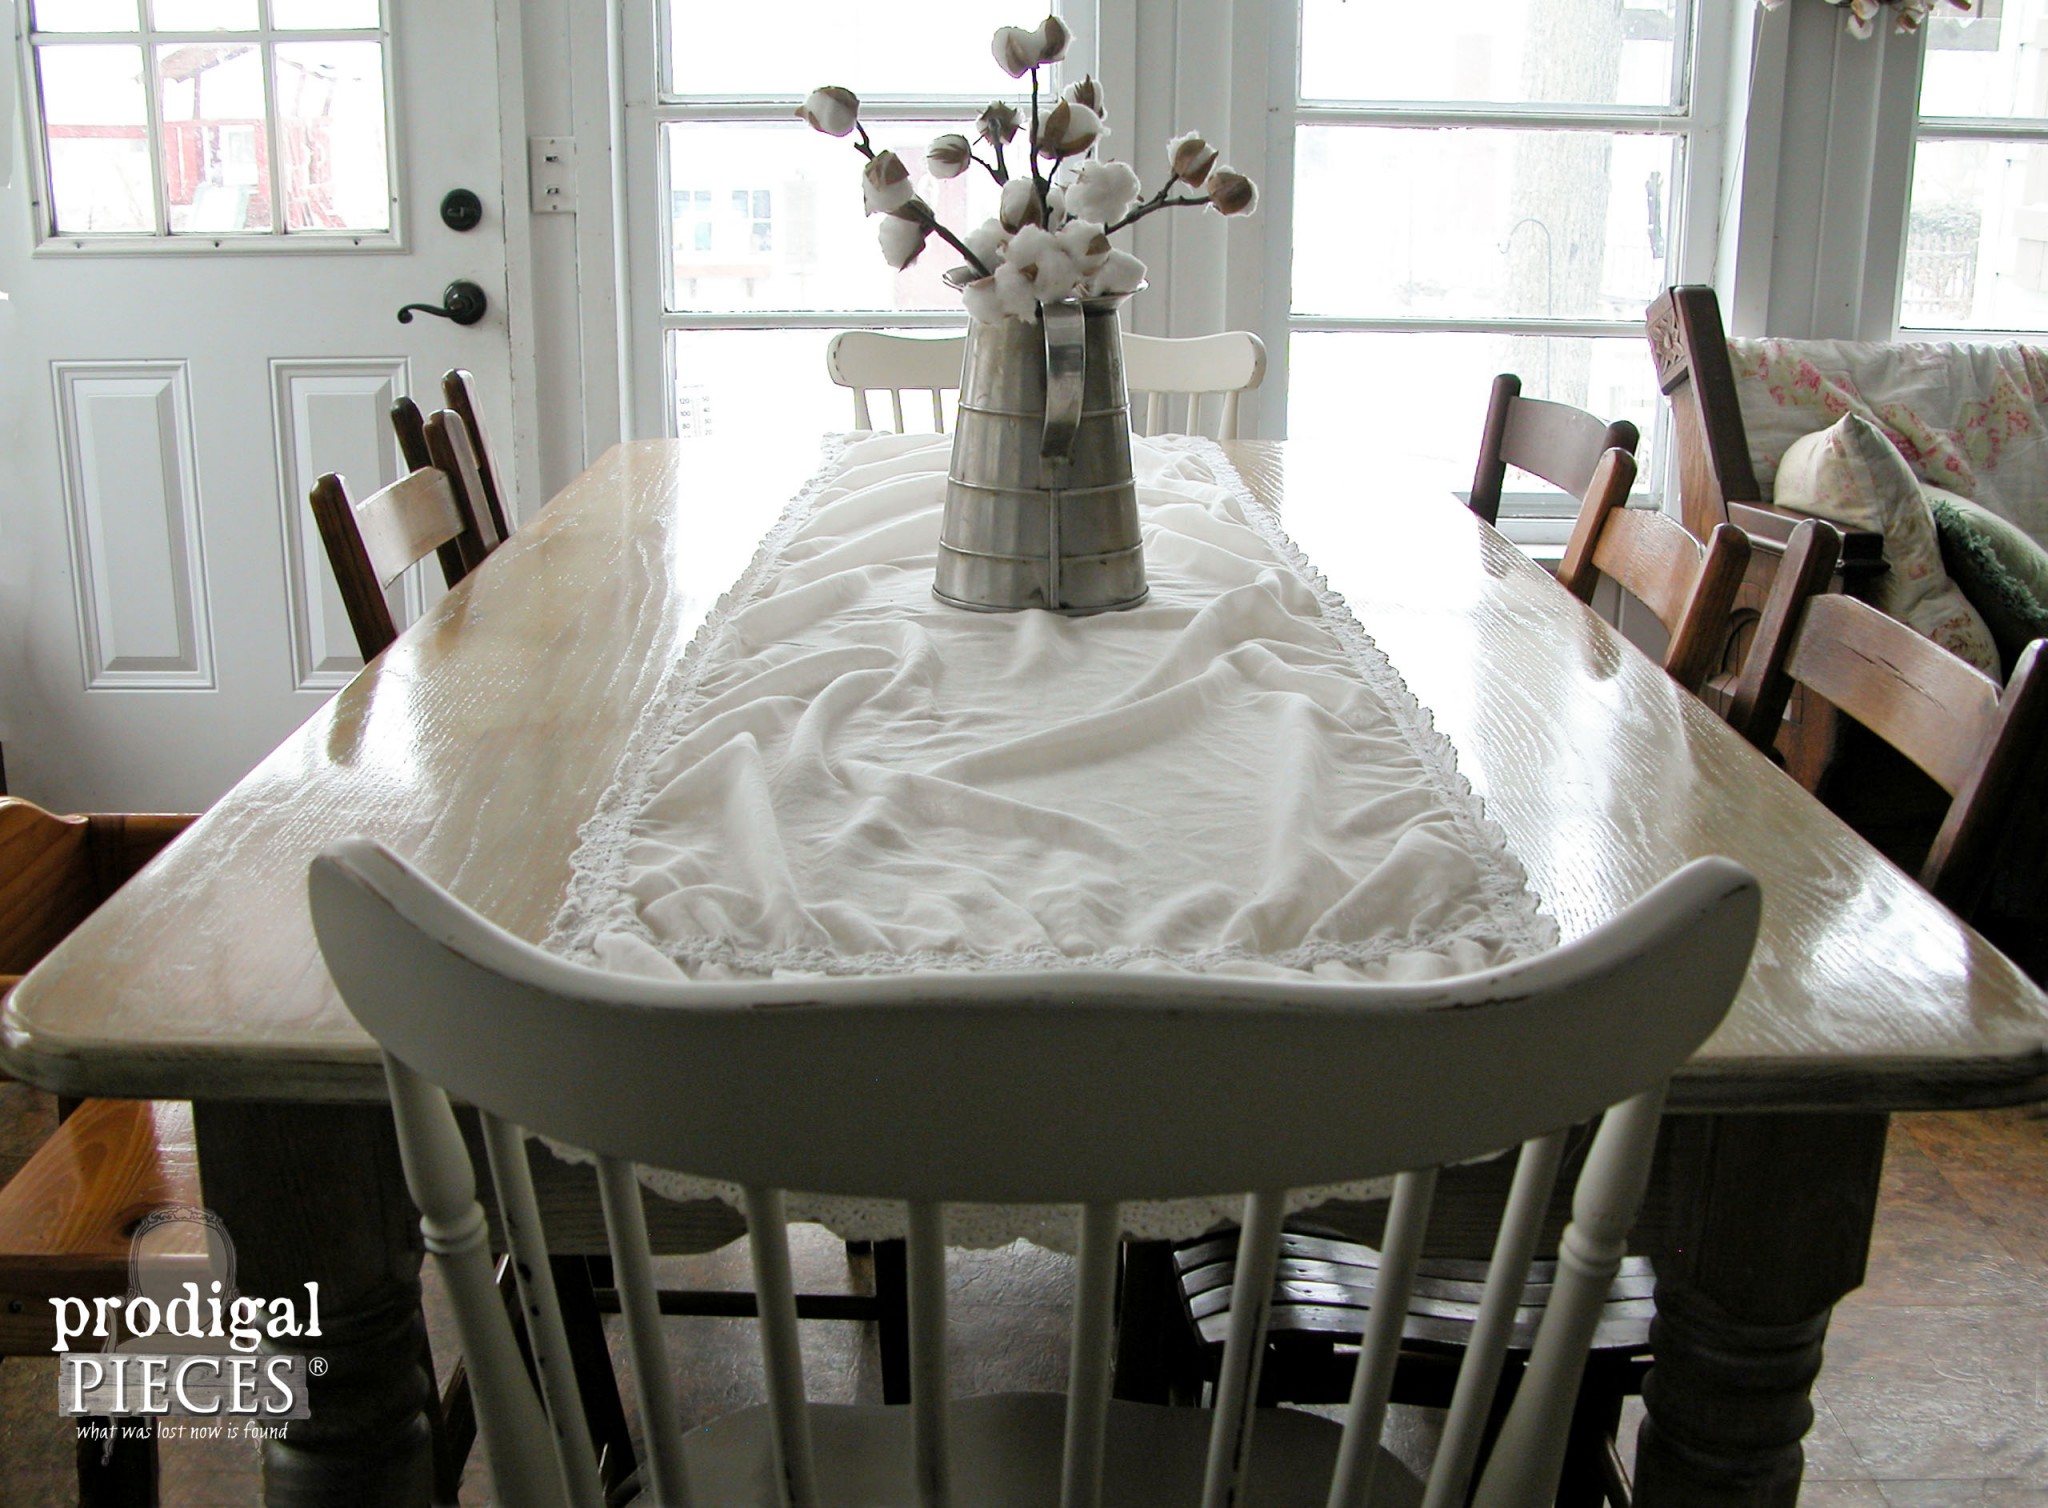
Look at it gleam and that wood grain show through. Be still my heart.
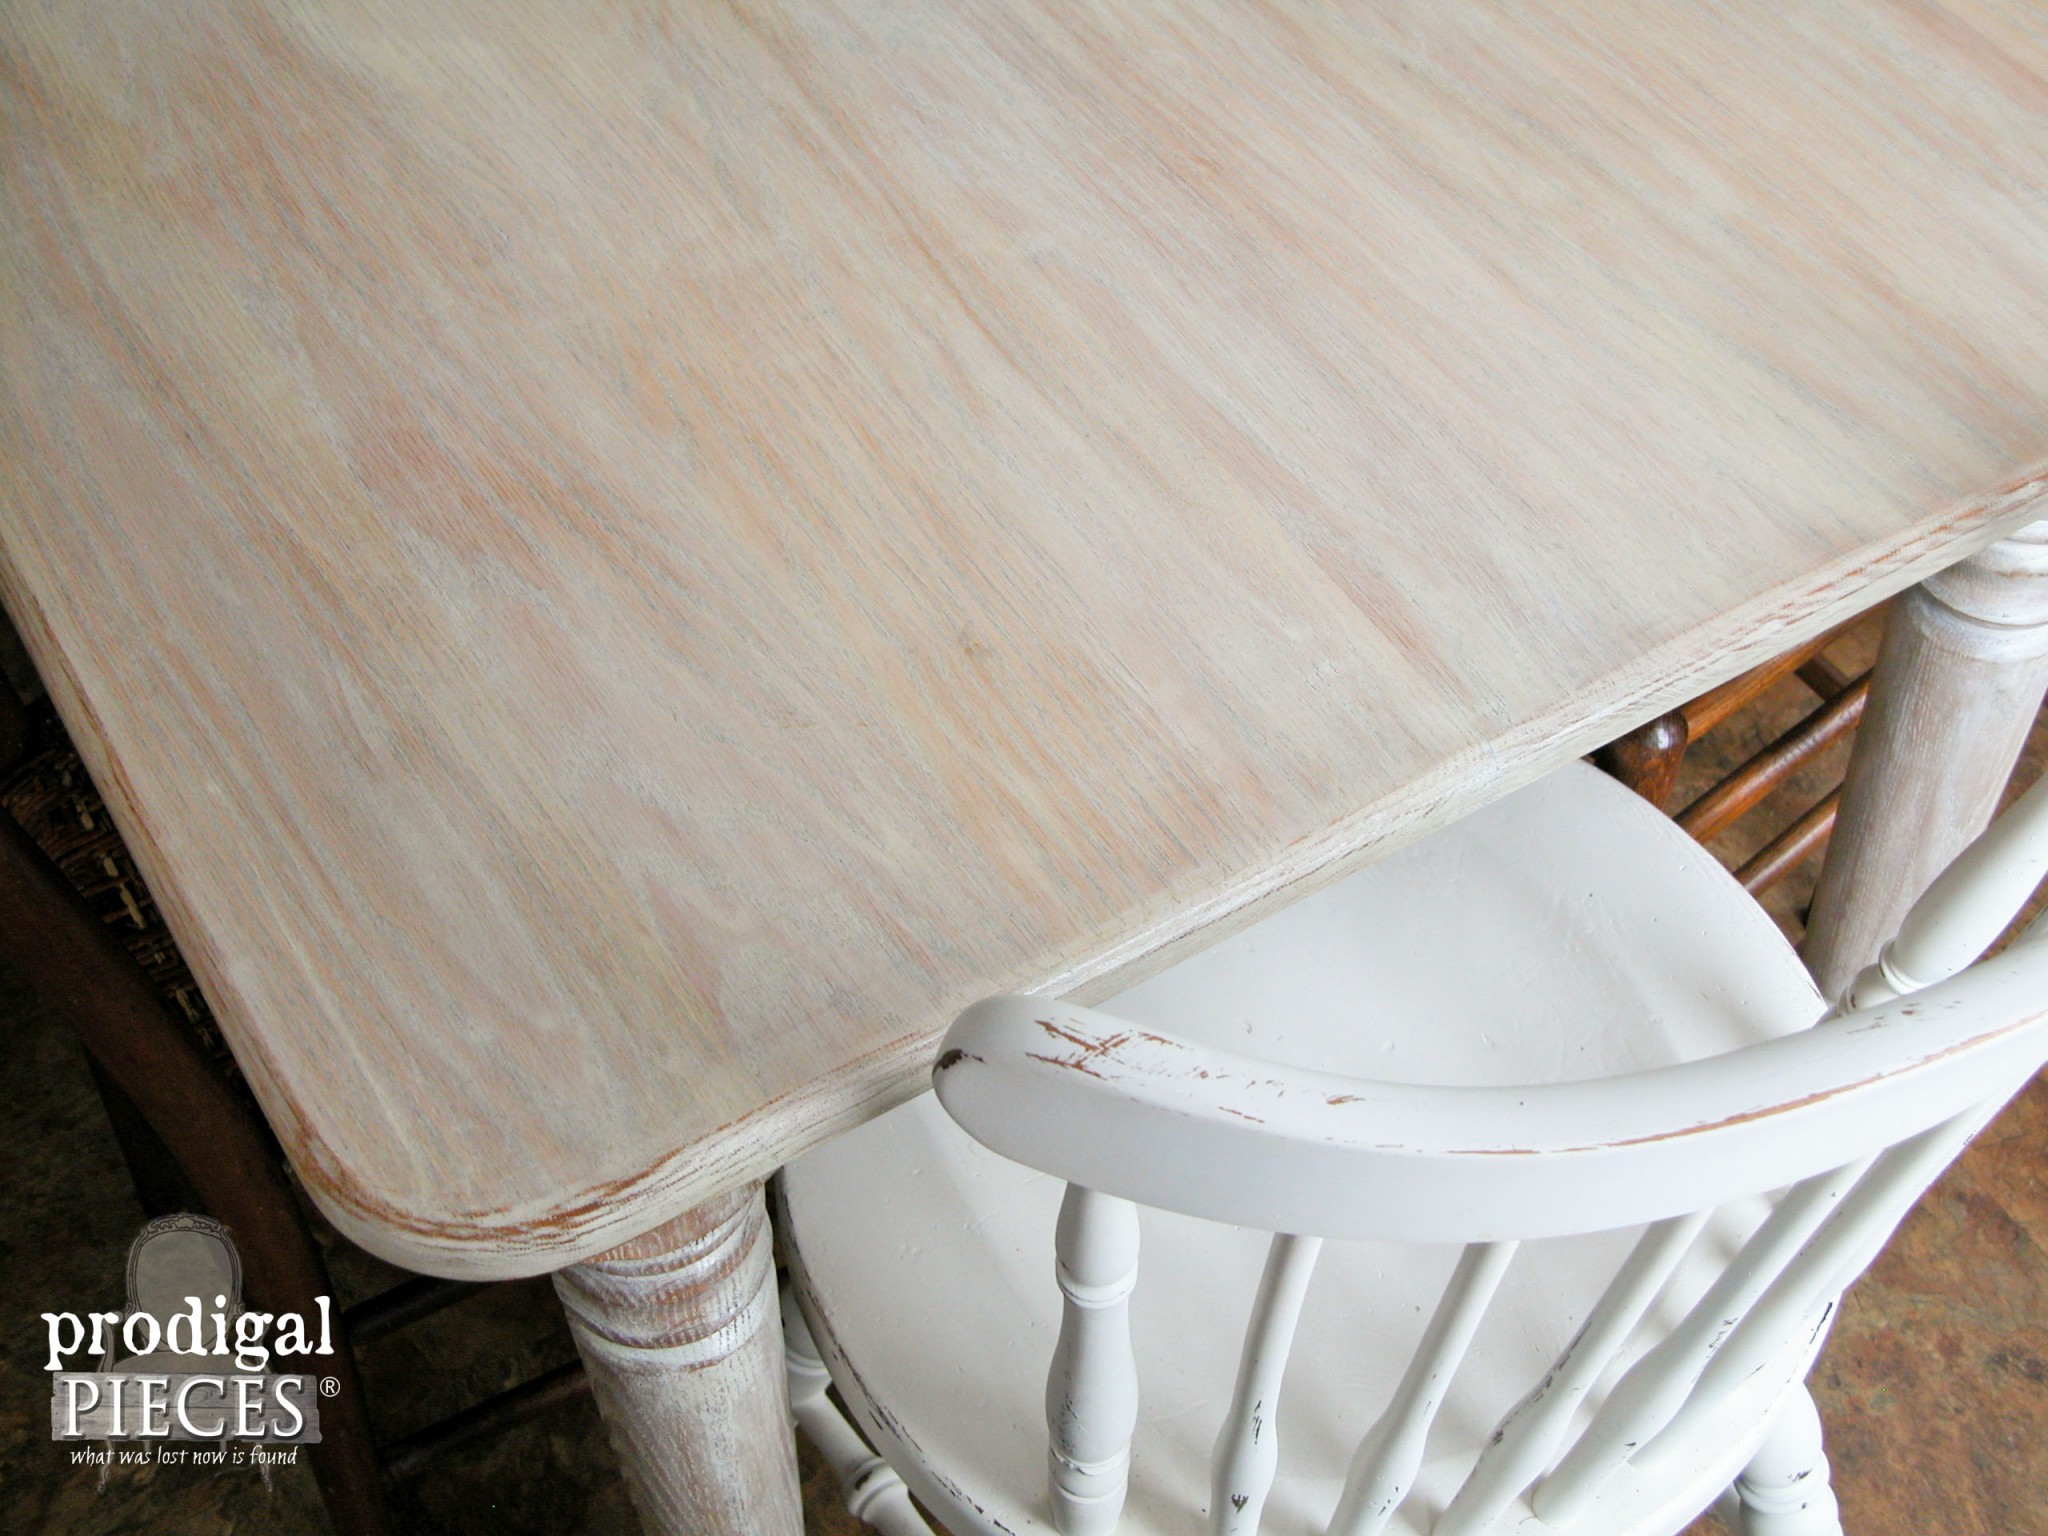
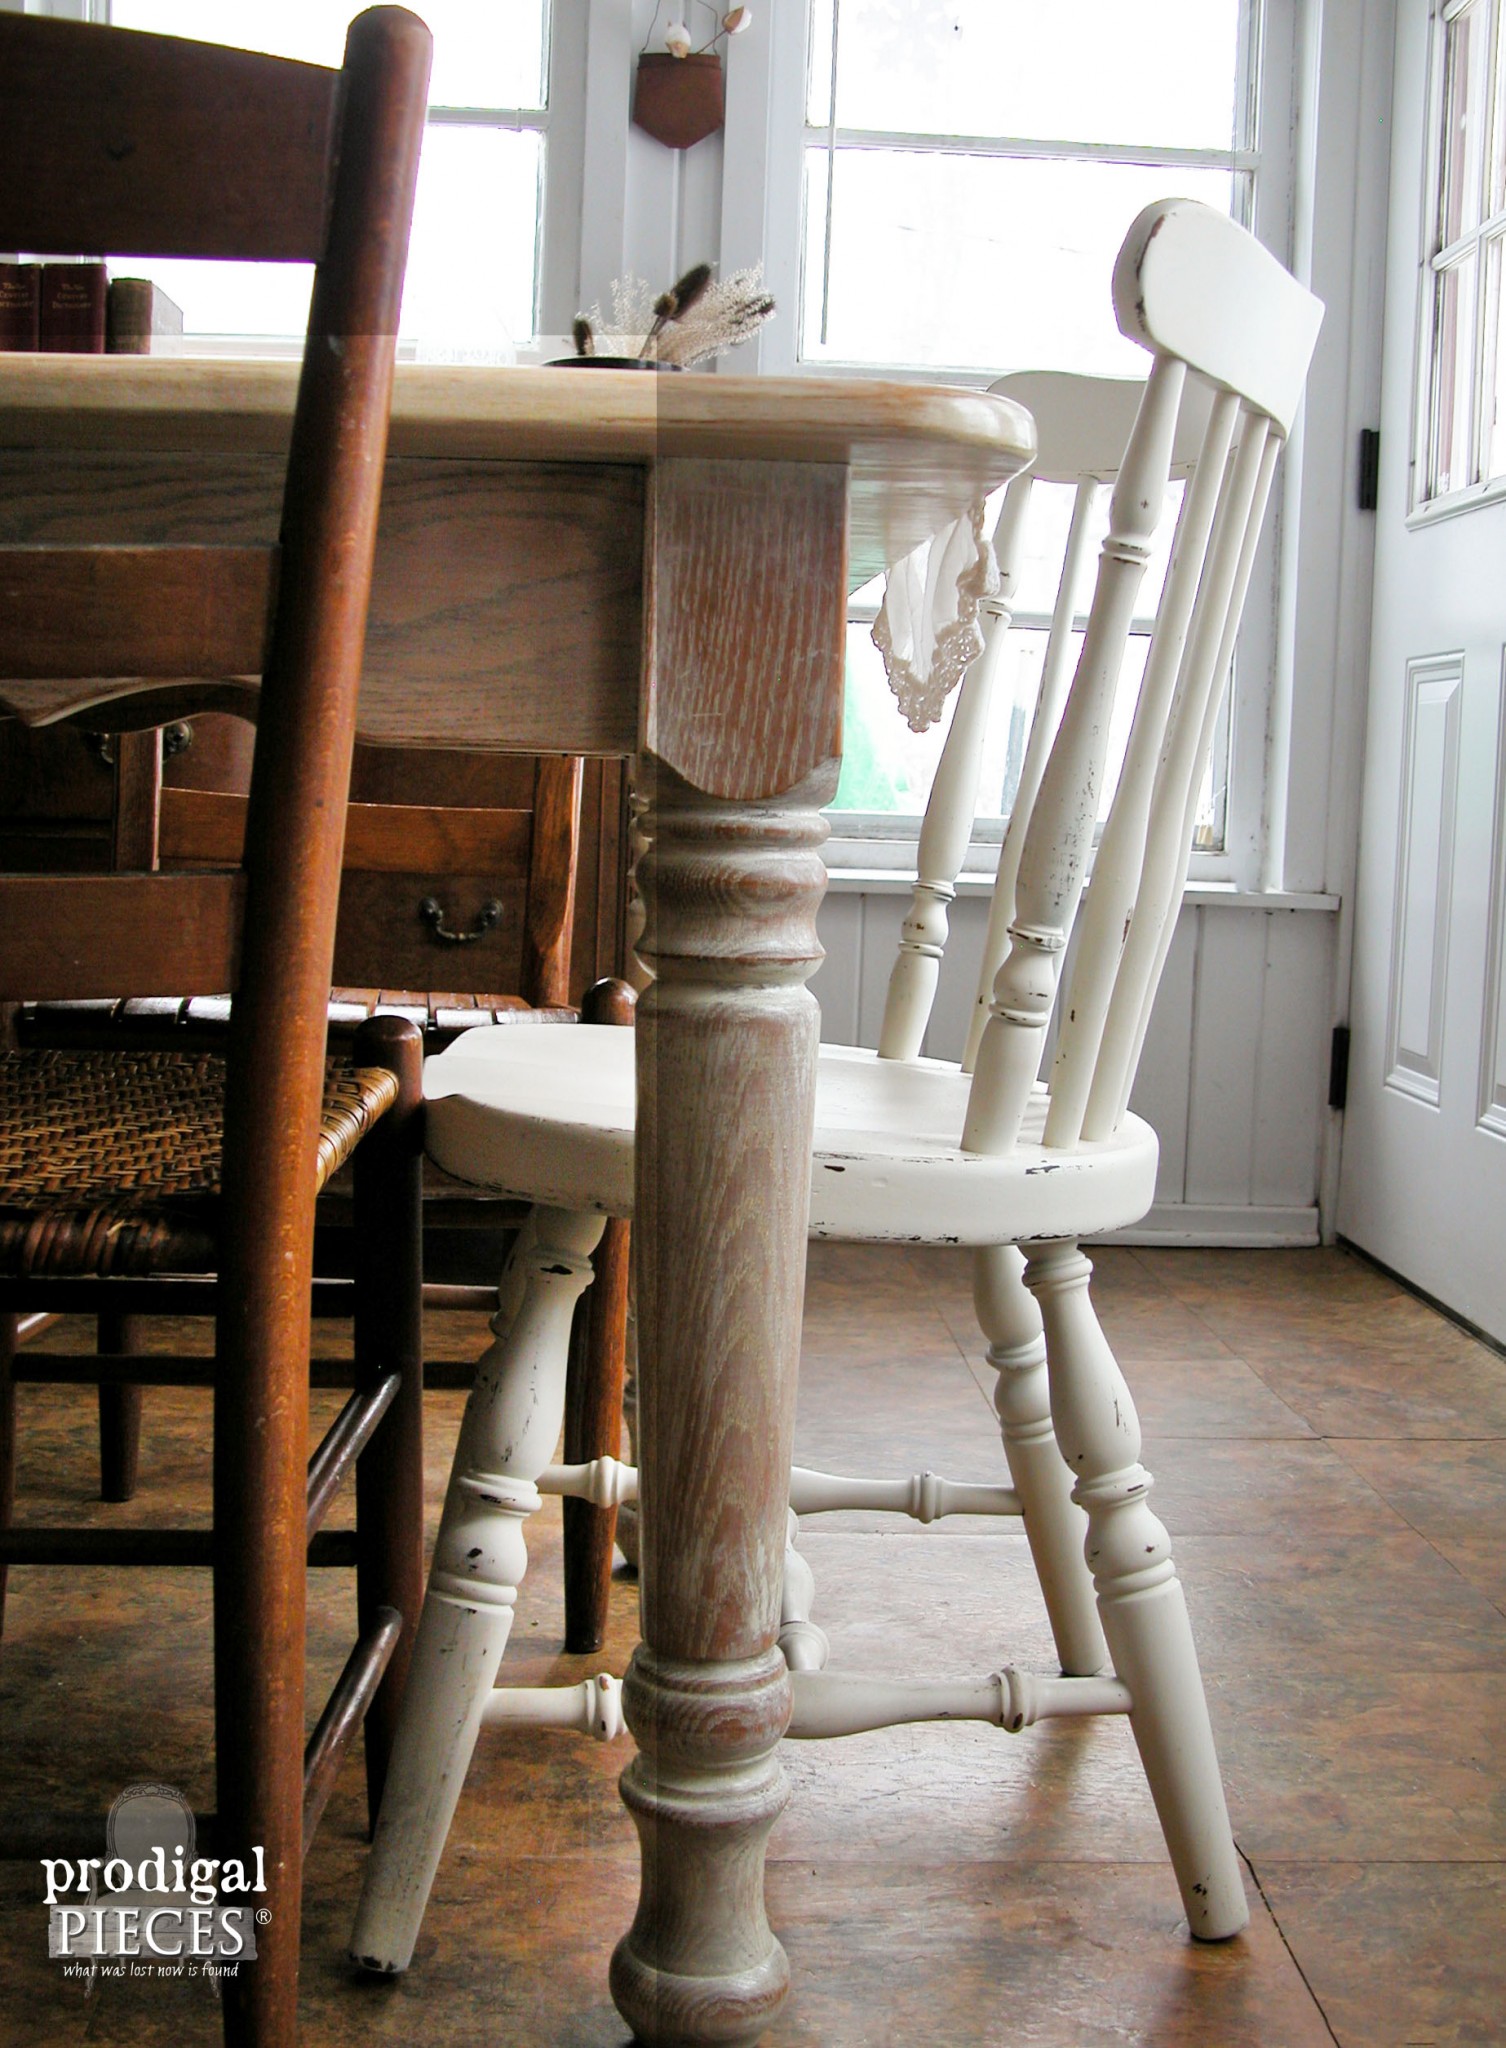
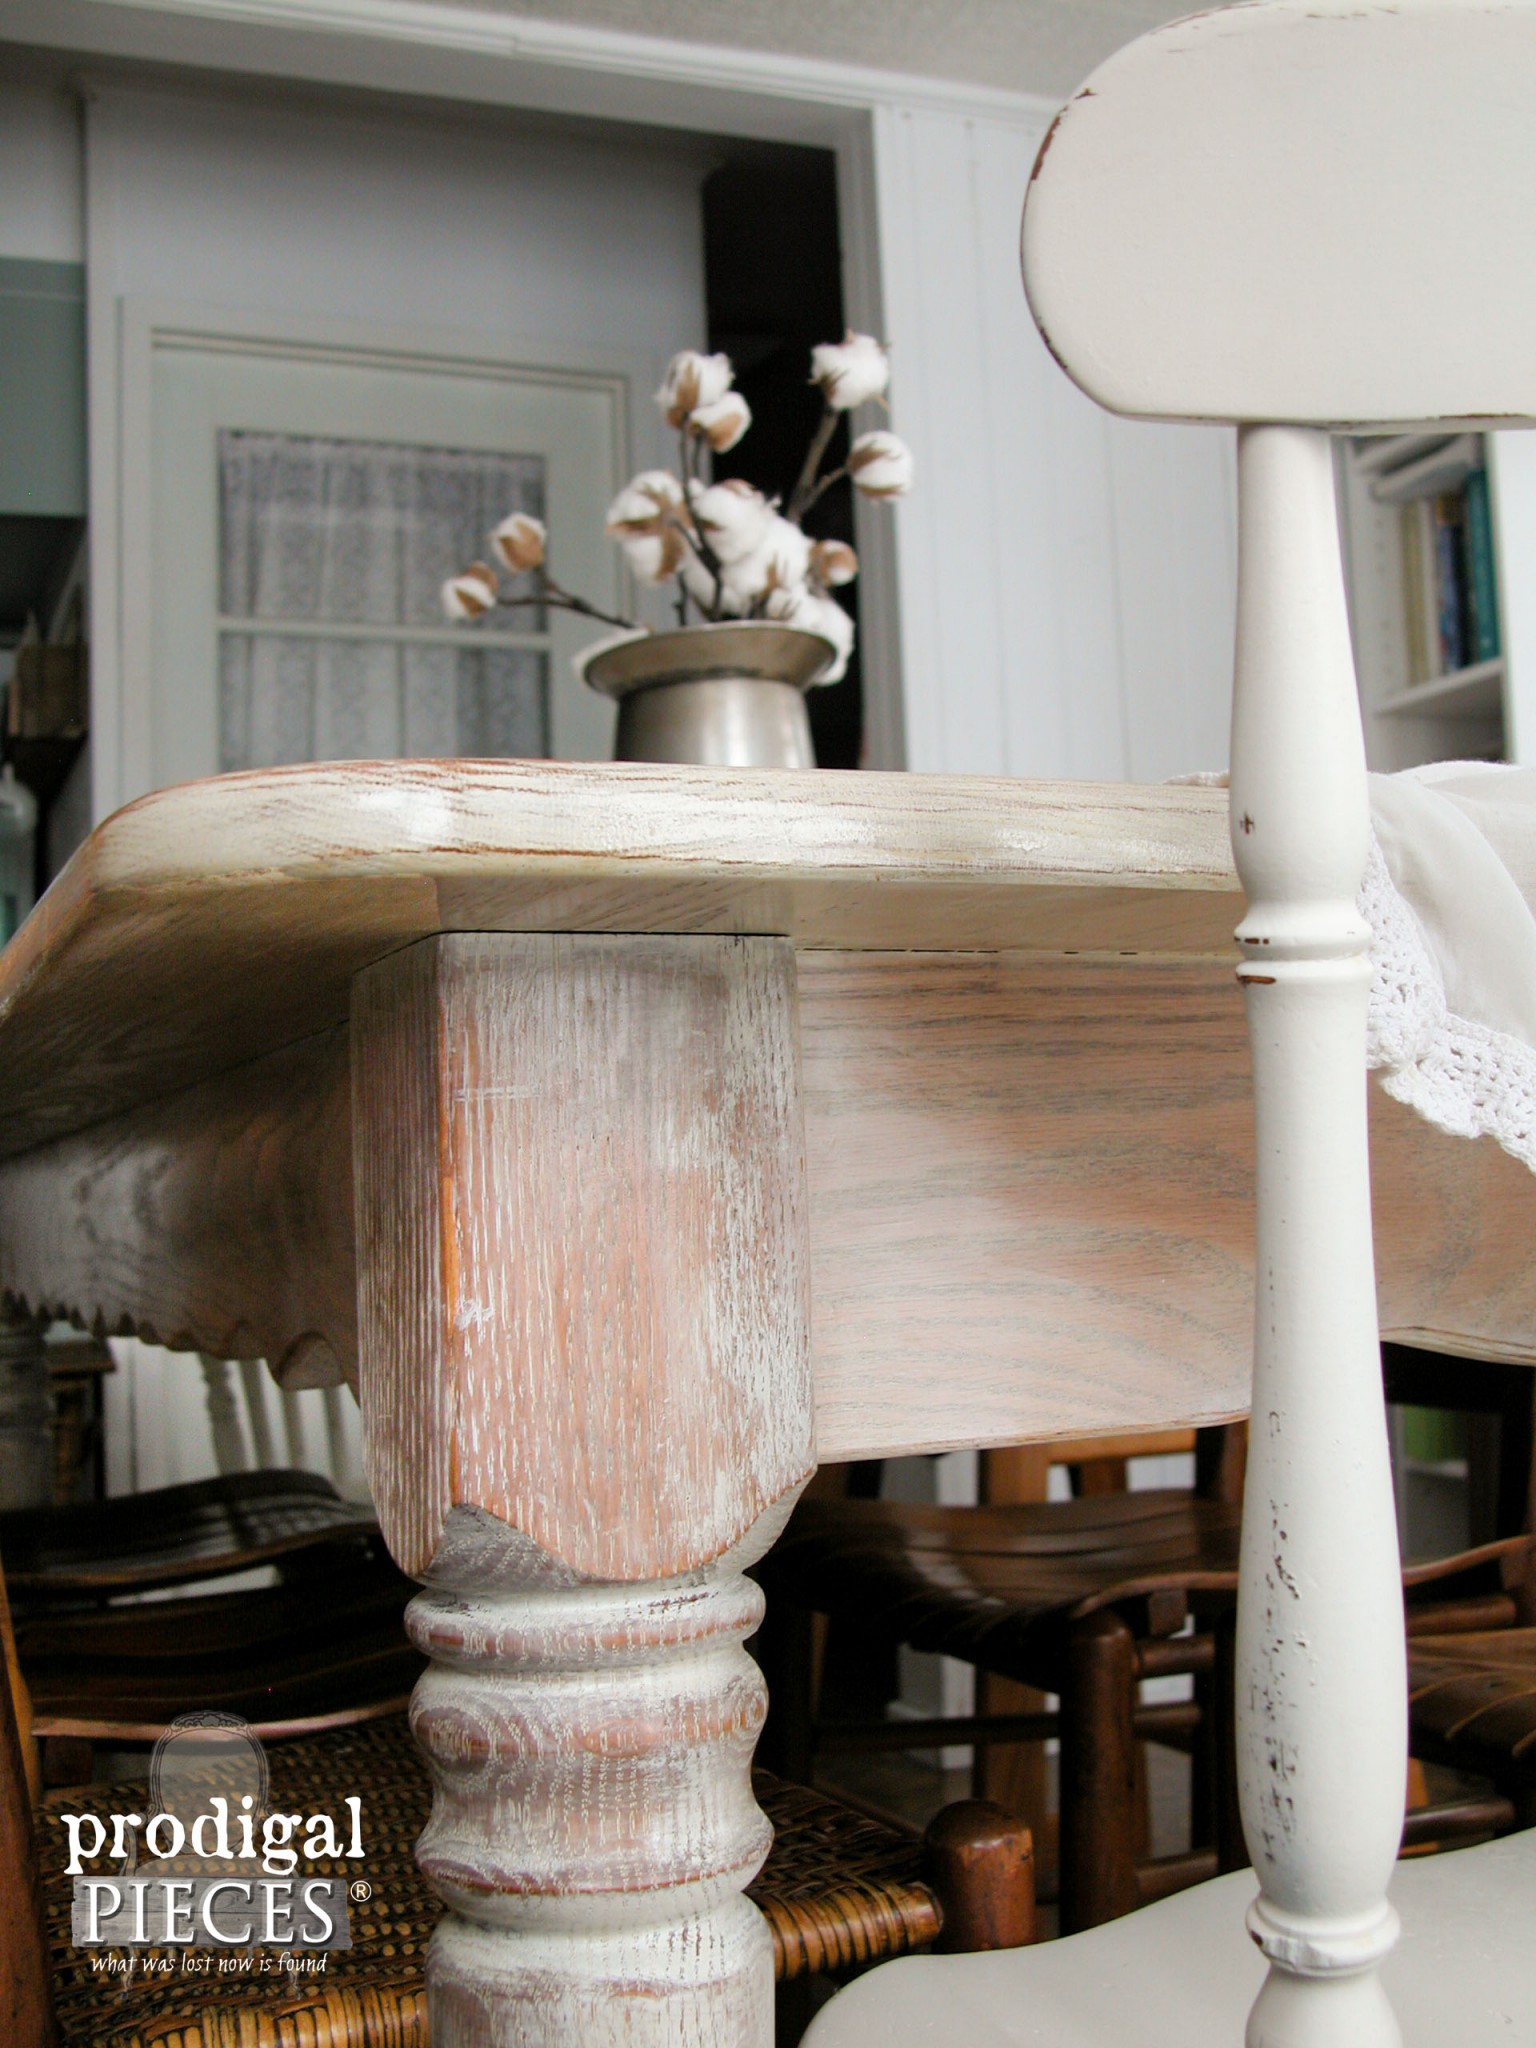
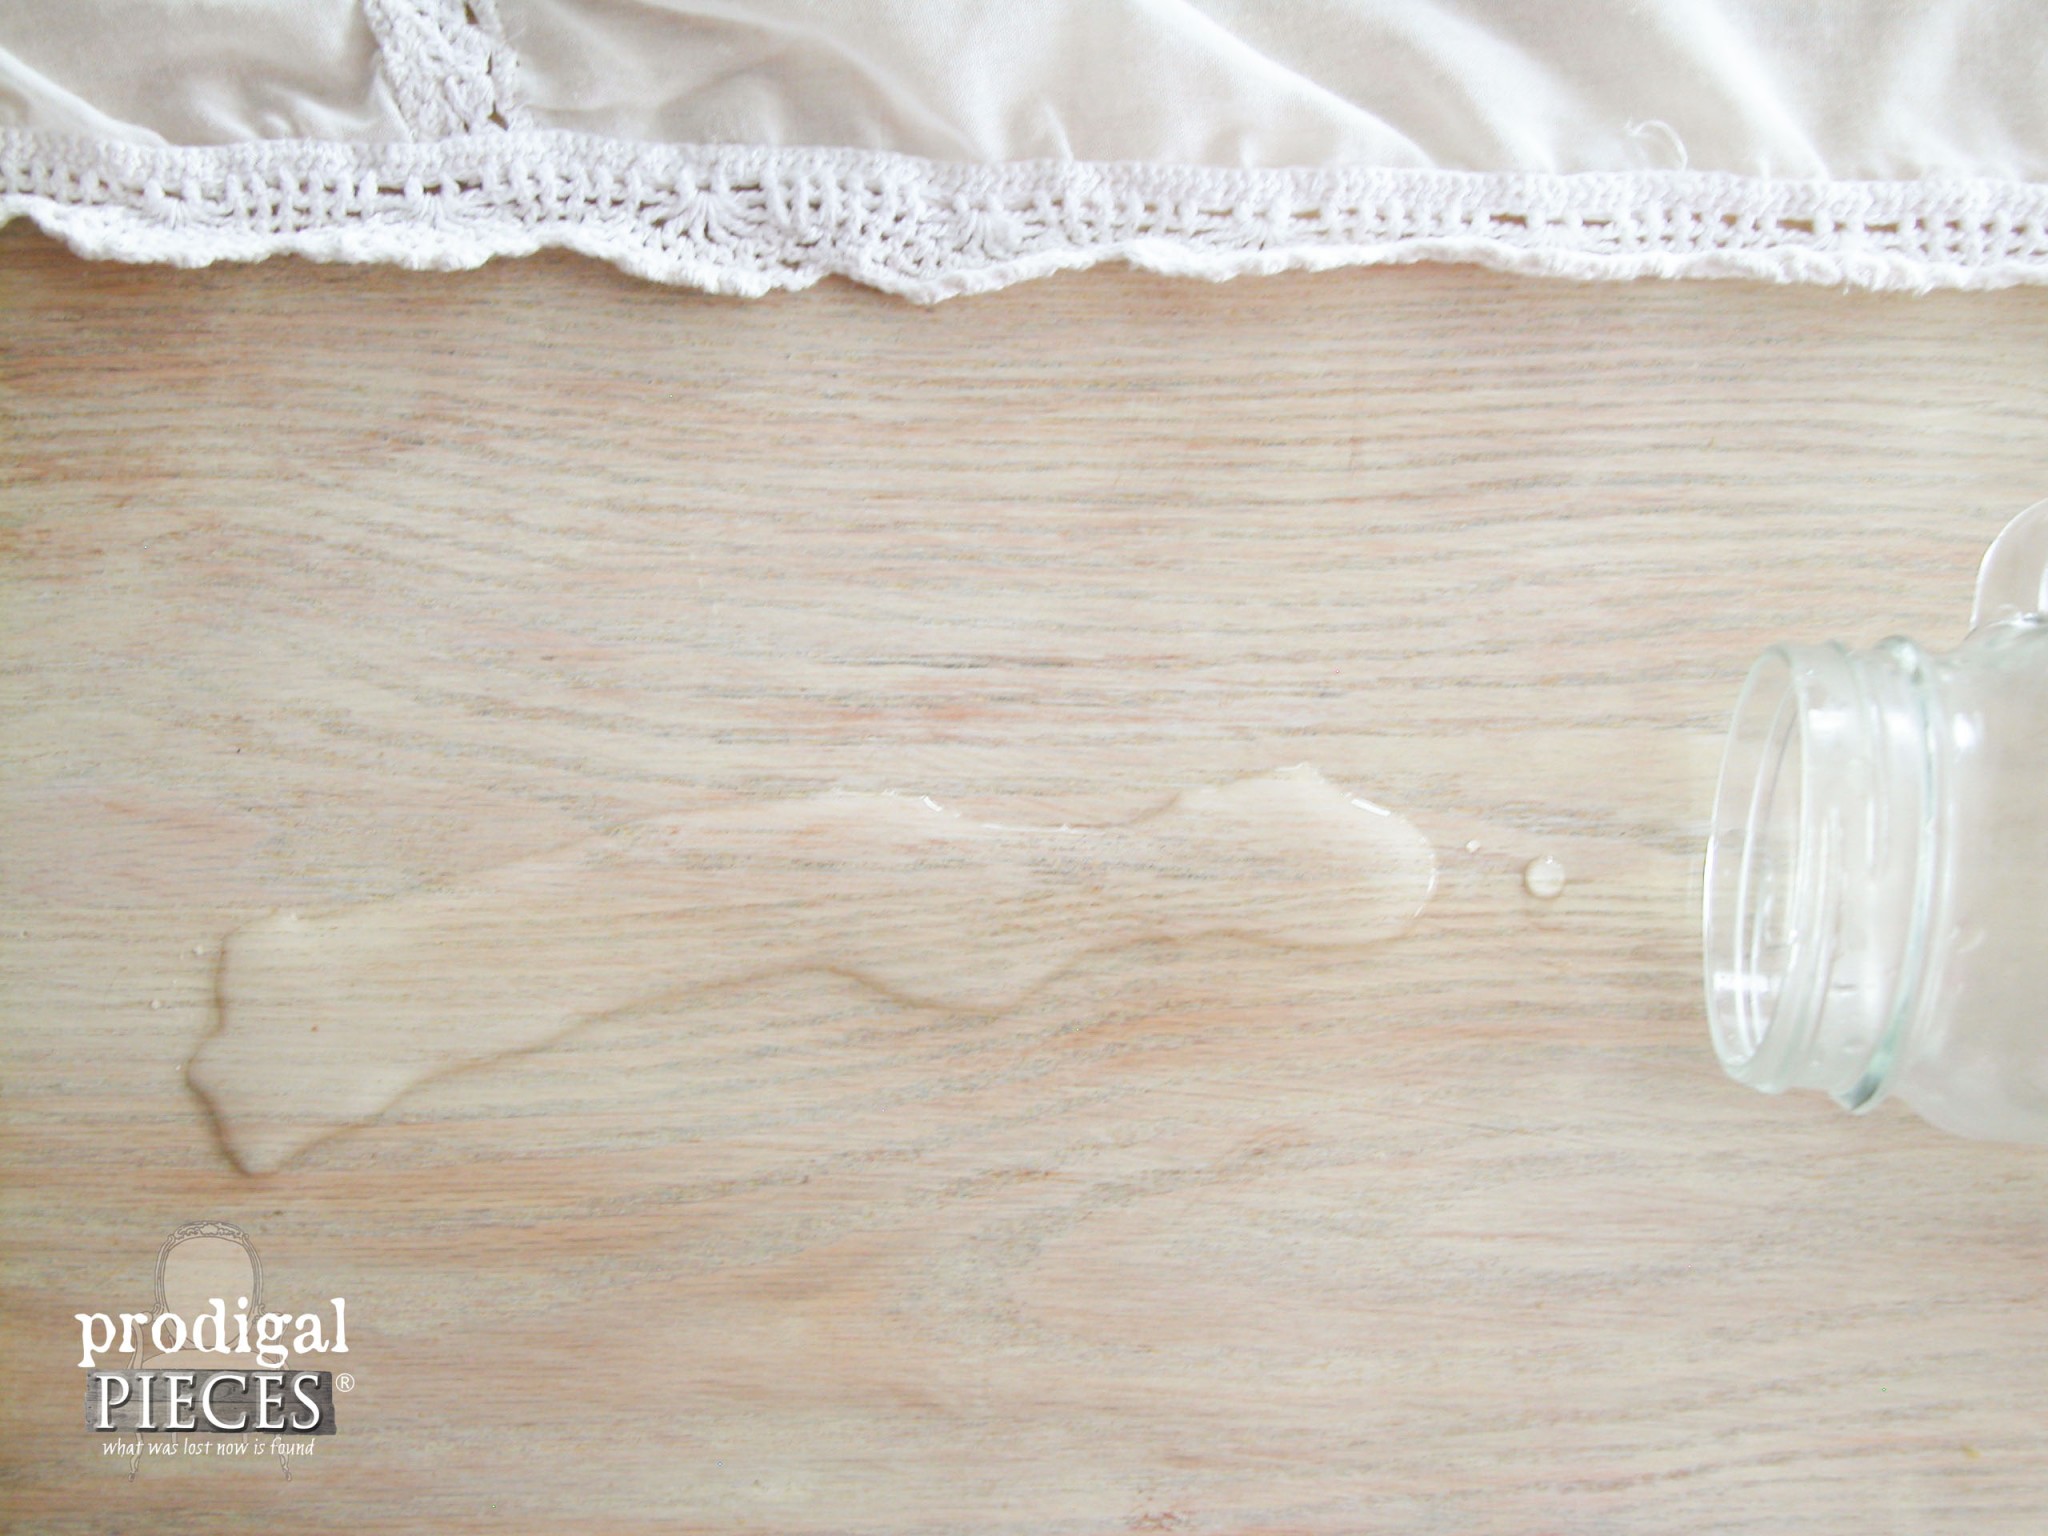
I told you that water beads up on this Waterlox…like a duck's back. It's perfect for this mama of 6.
I'm in love with this finish and can happily say I would do it again in heartbeat. It's rustic, clean, and oh so pretty.
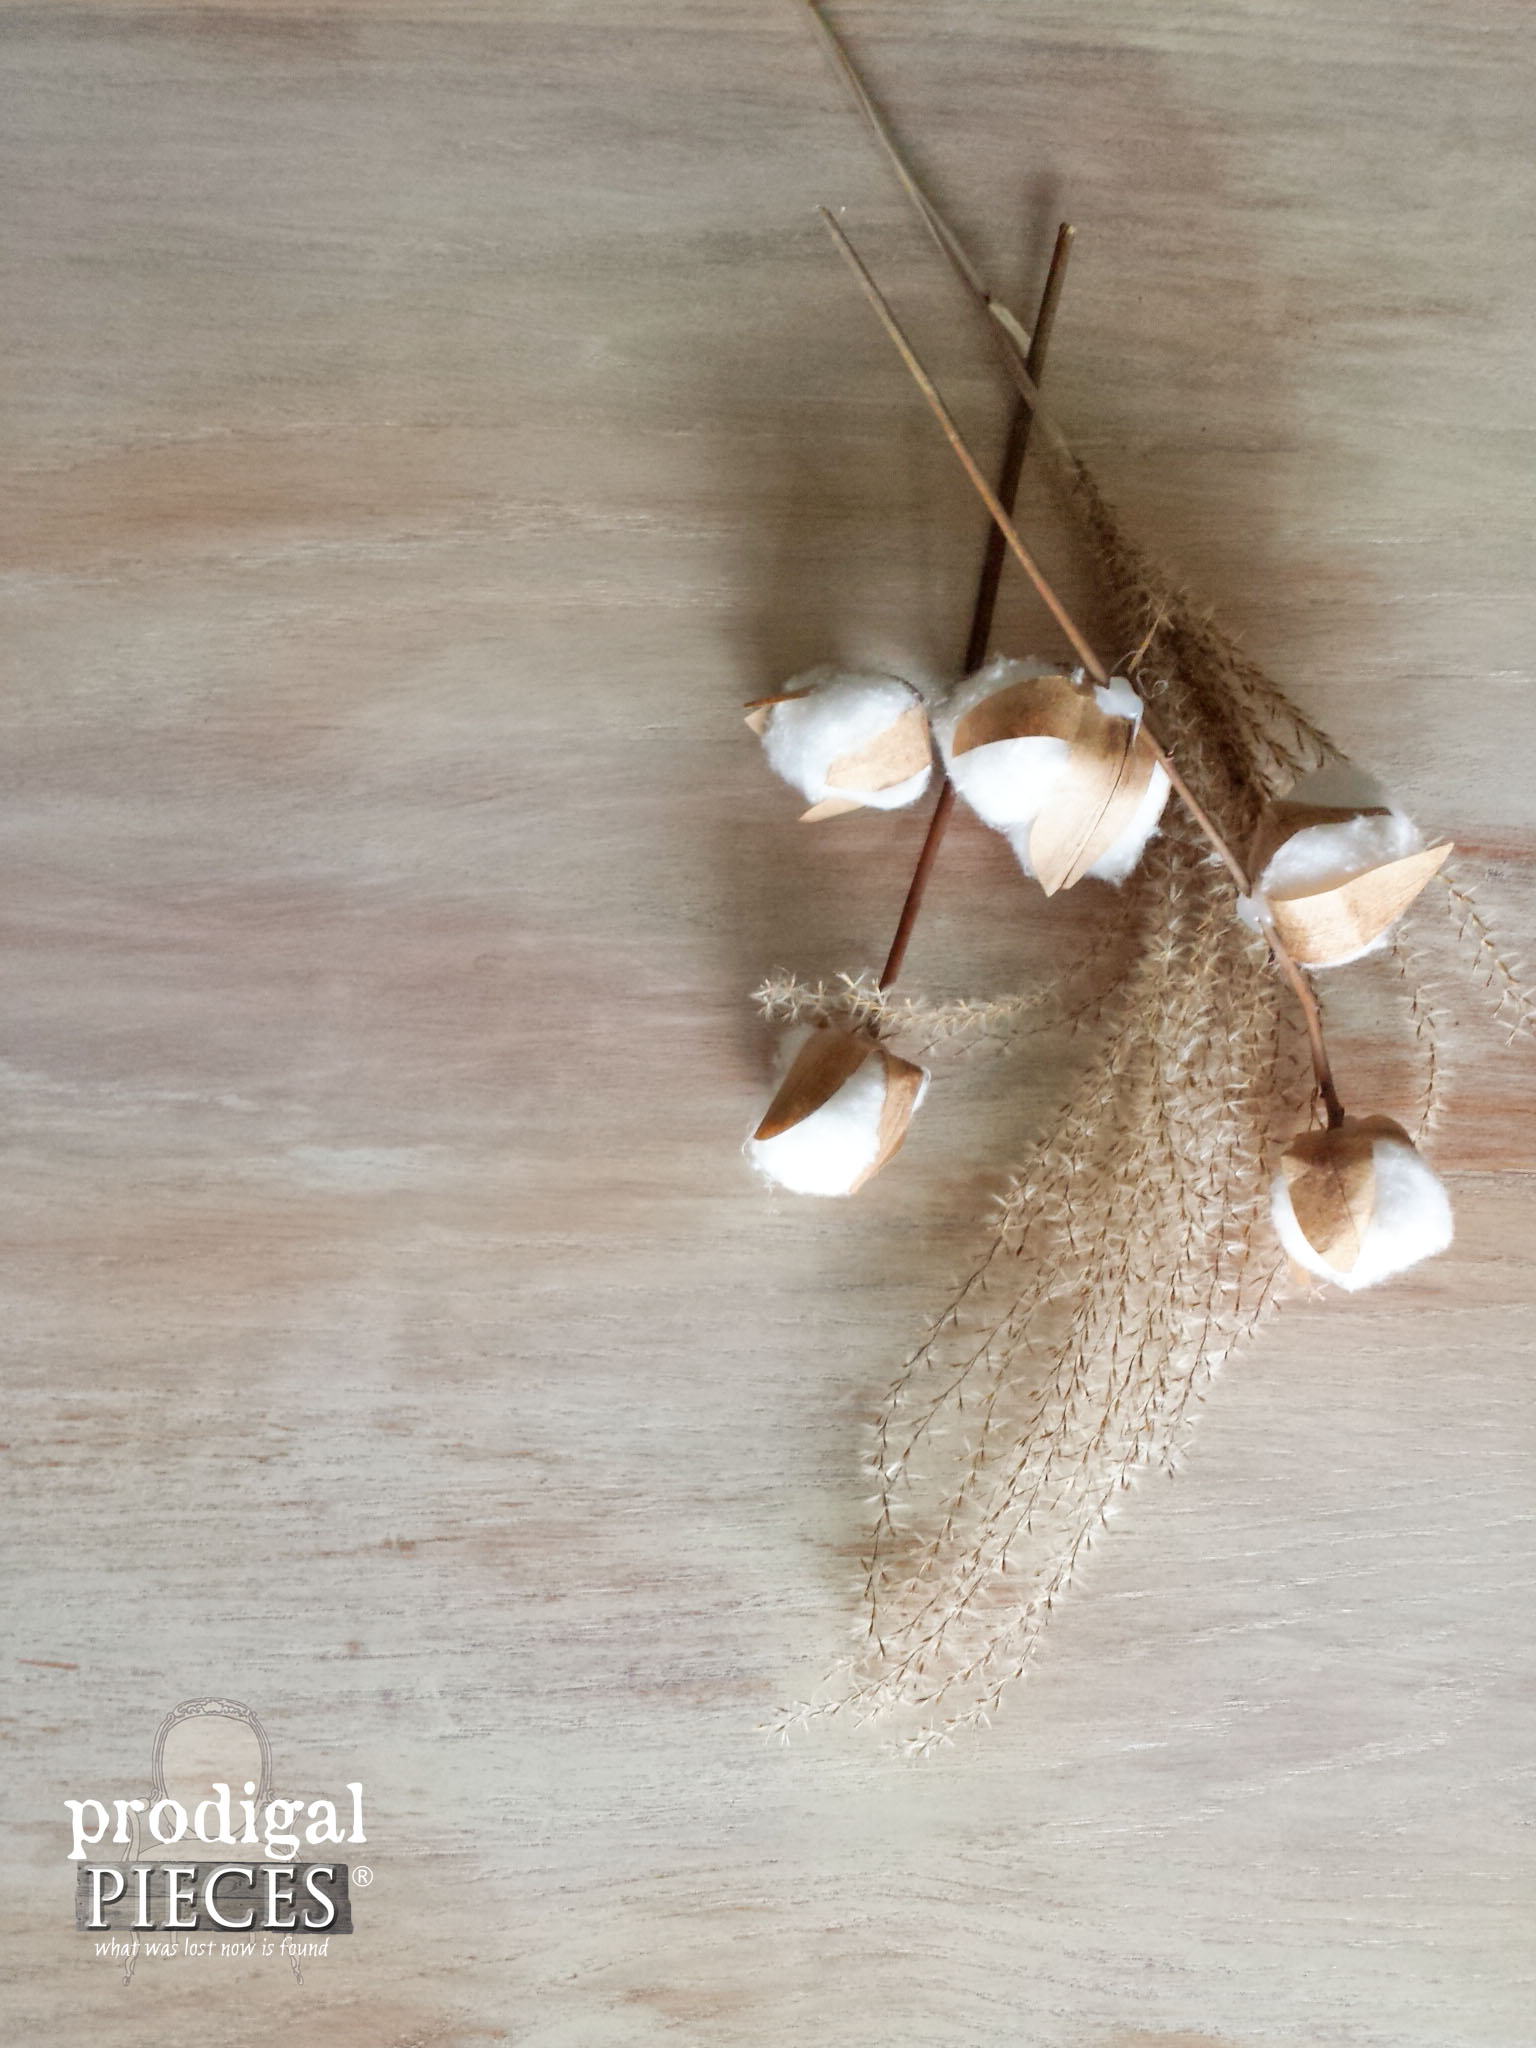
I have a video tutorial for those cotton stems over here. You can make them for pennies…seriously!!
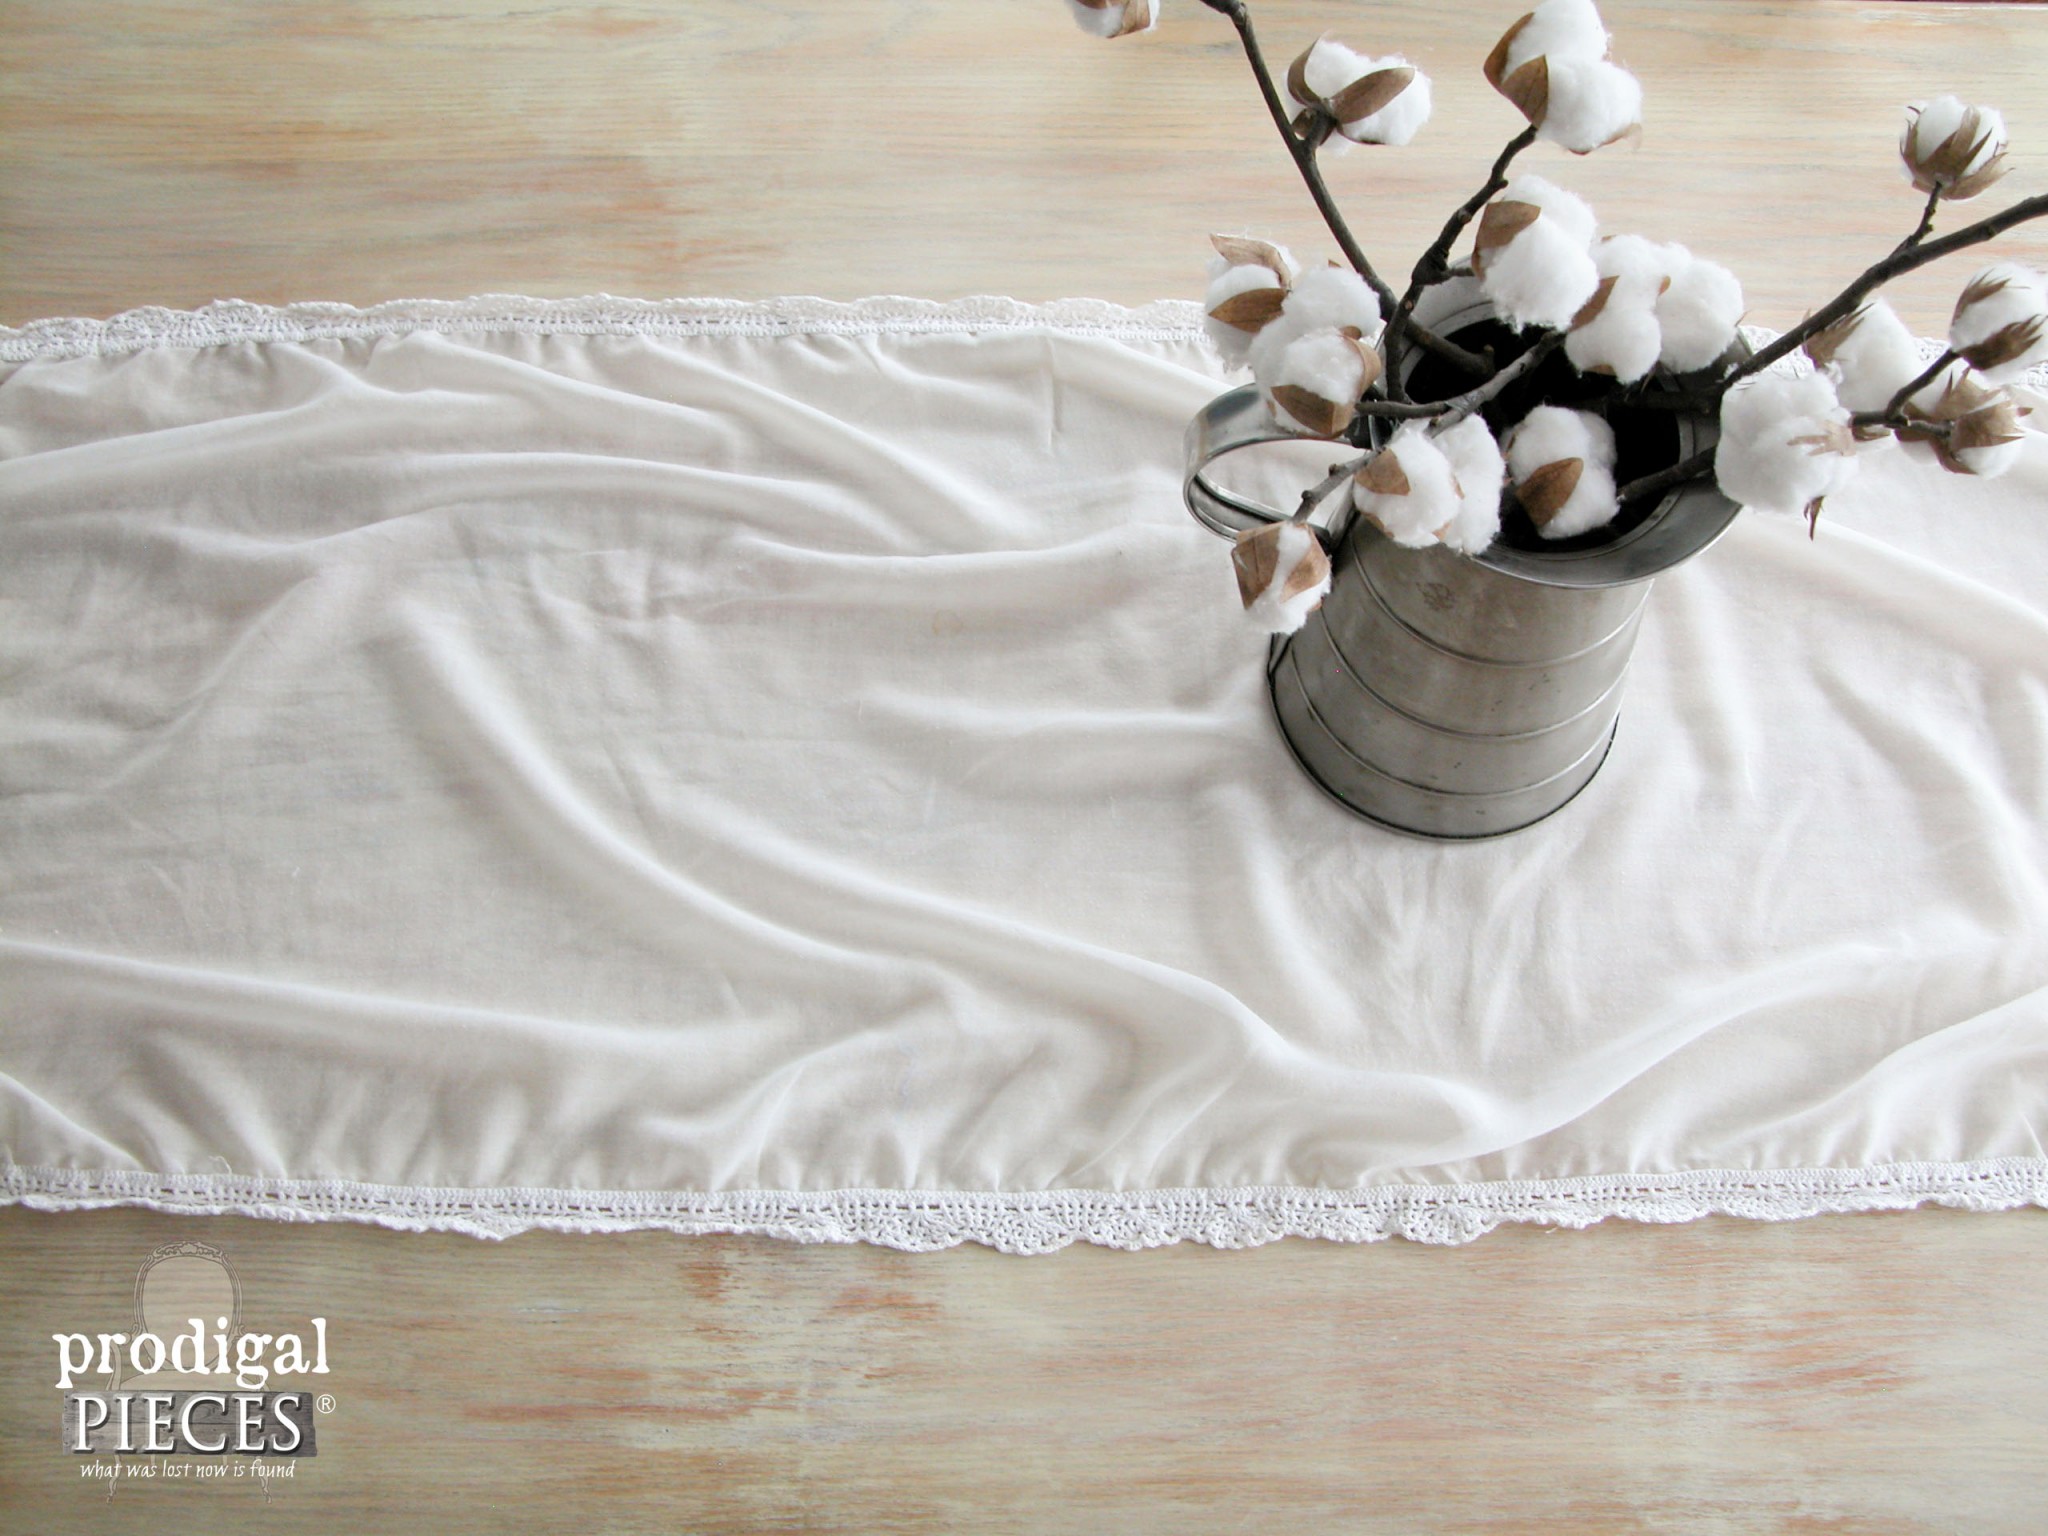
Have questions about getting the whitewashed look? Please feel free to ask – I'd love to help.
SHARING
You can help me by pinning and sharing so others can learn how to do this whitewashed method too. ♥
We have started our kitchen remodel. Come see what we are up to HERE!
To get these DIY tips & tricks in your inbox, be sure to sign up for my newsletter. PLUS, you will get your FREE Furniture Buying Checklist and special discount to my shop.


![]() FACEBOOK | PINTEREST | INSTAGRAM
FACEBOOK | PINTEREST | INSTAGRAM
My other furniture makeovers like my whitewashed table:
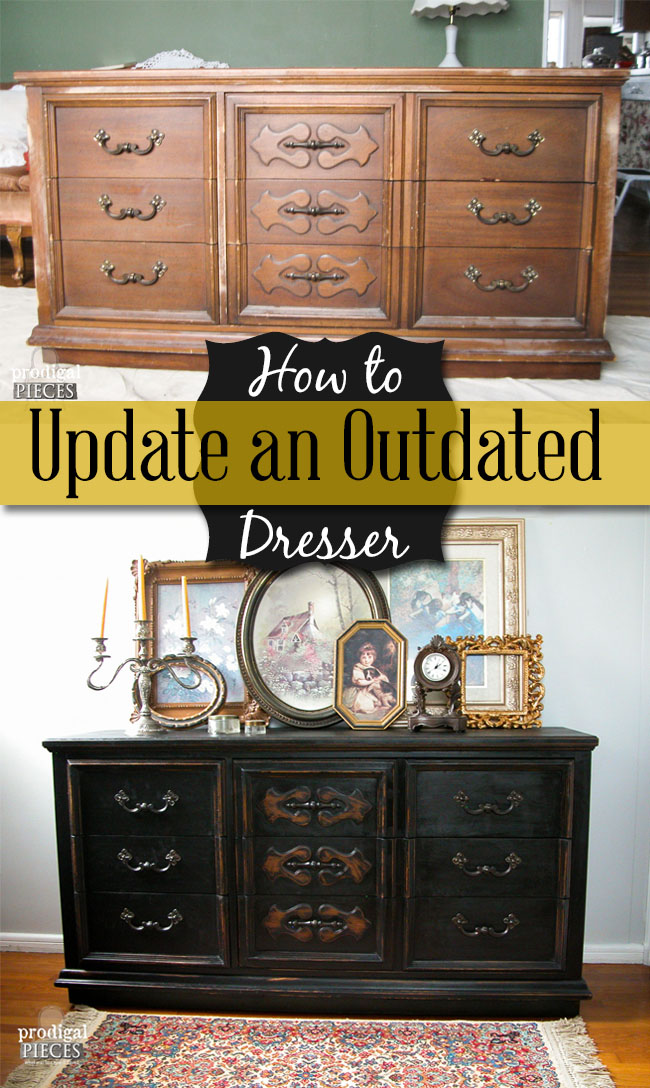

Lime Washed Dining Table And Chairs
Source: https://prodigalpieces.com/whitewashed-limewashed-wood/


0 Komentar